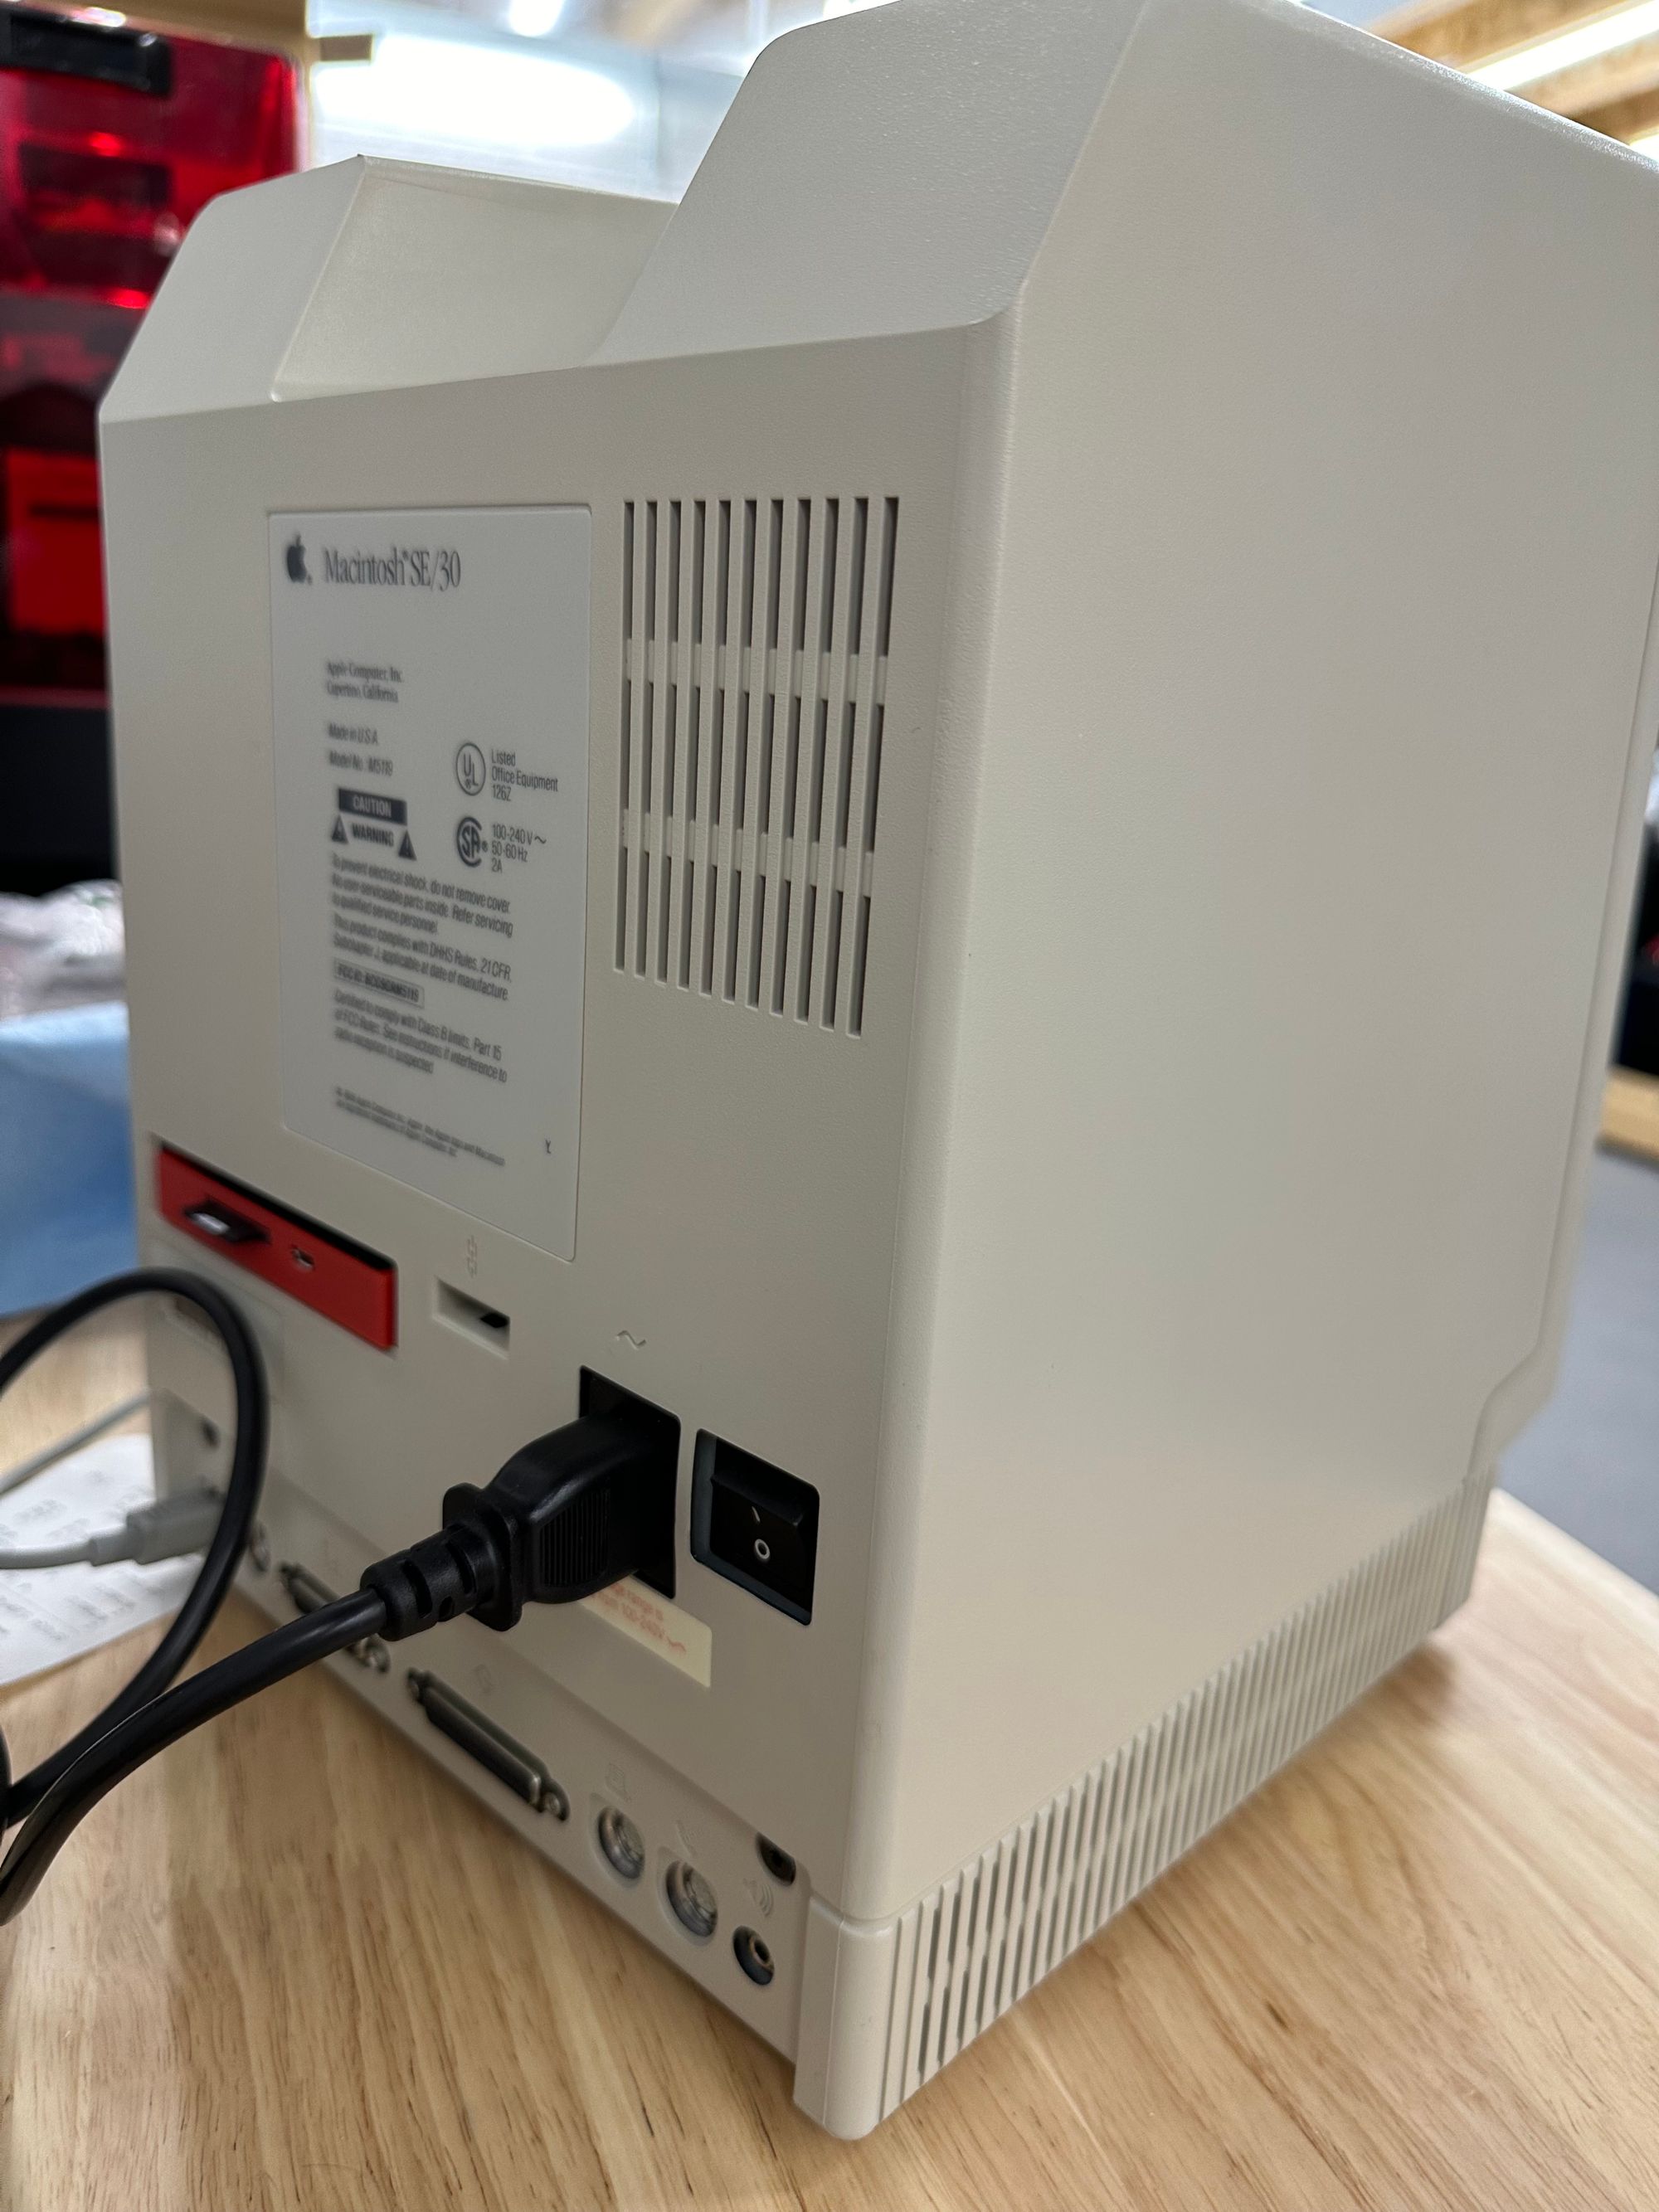
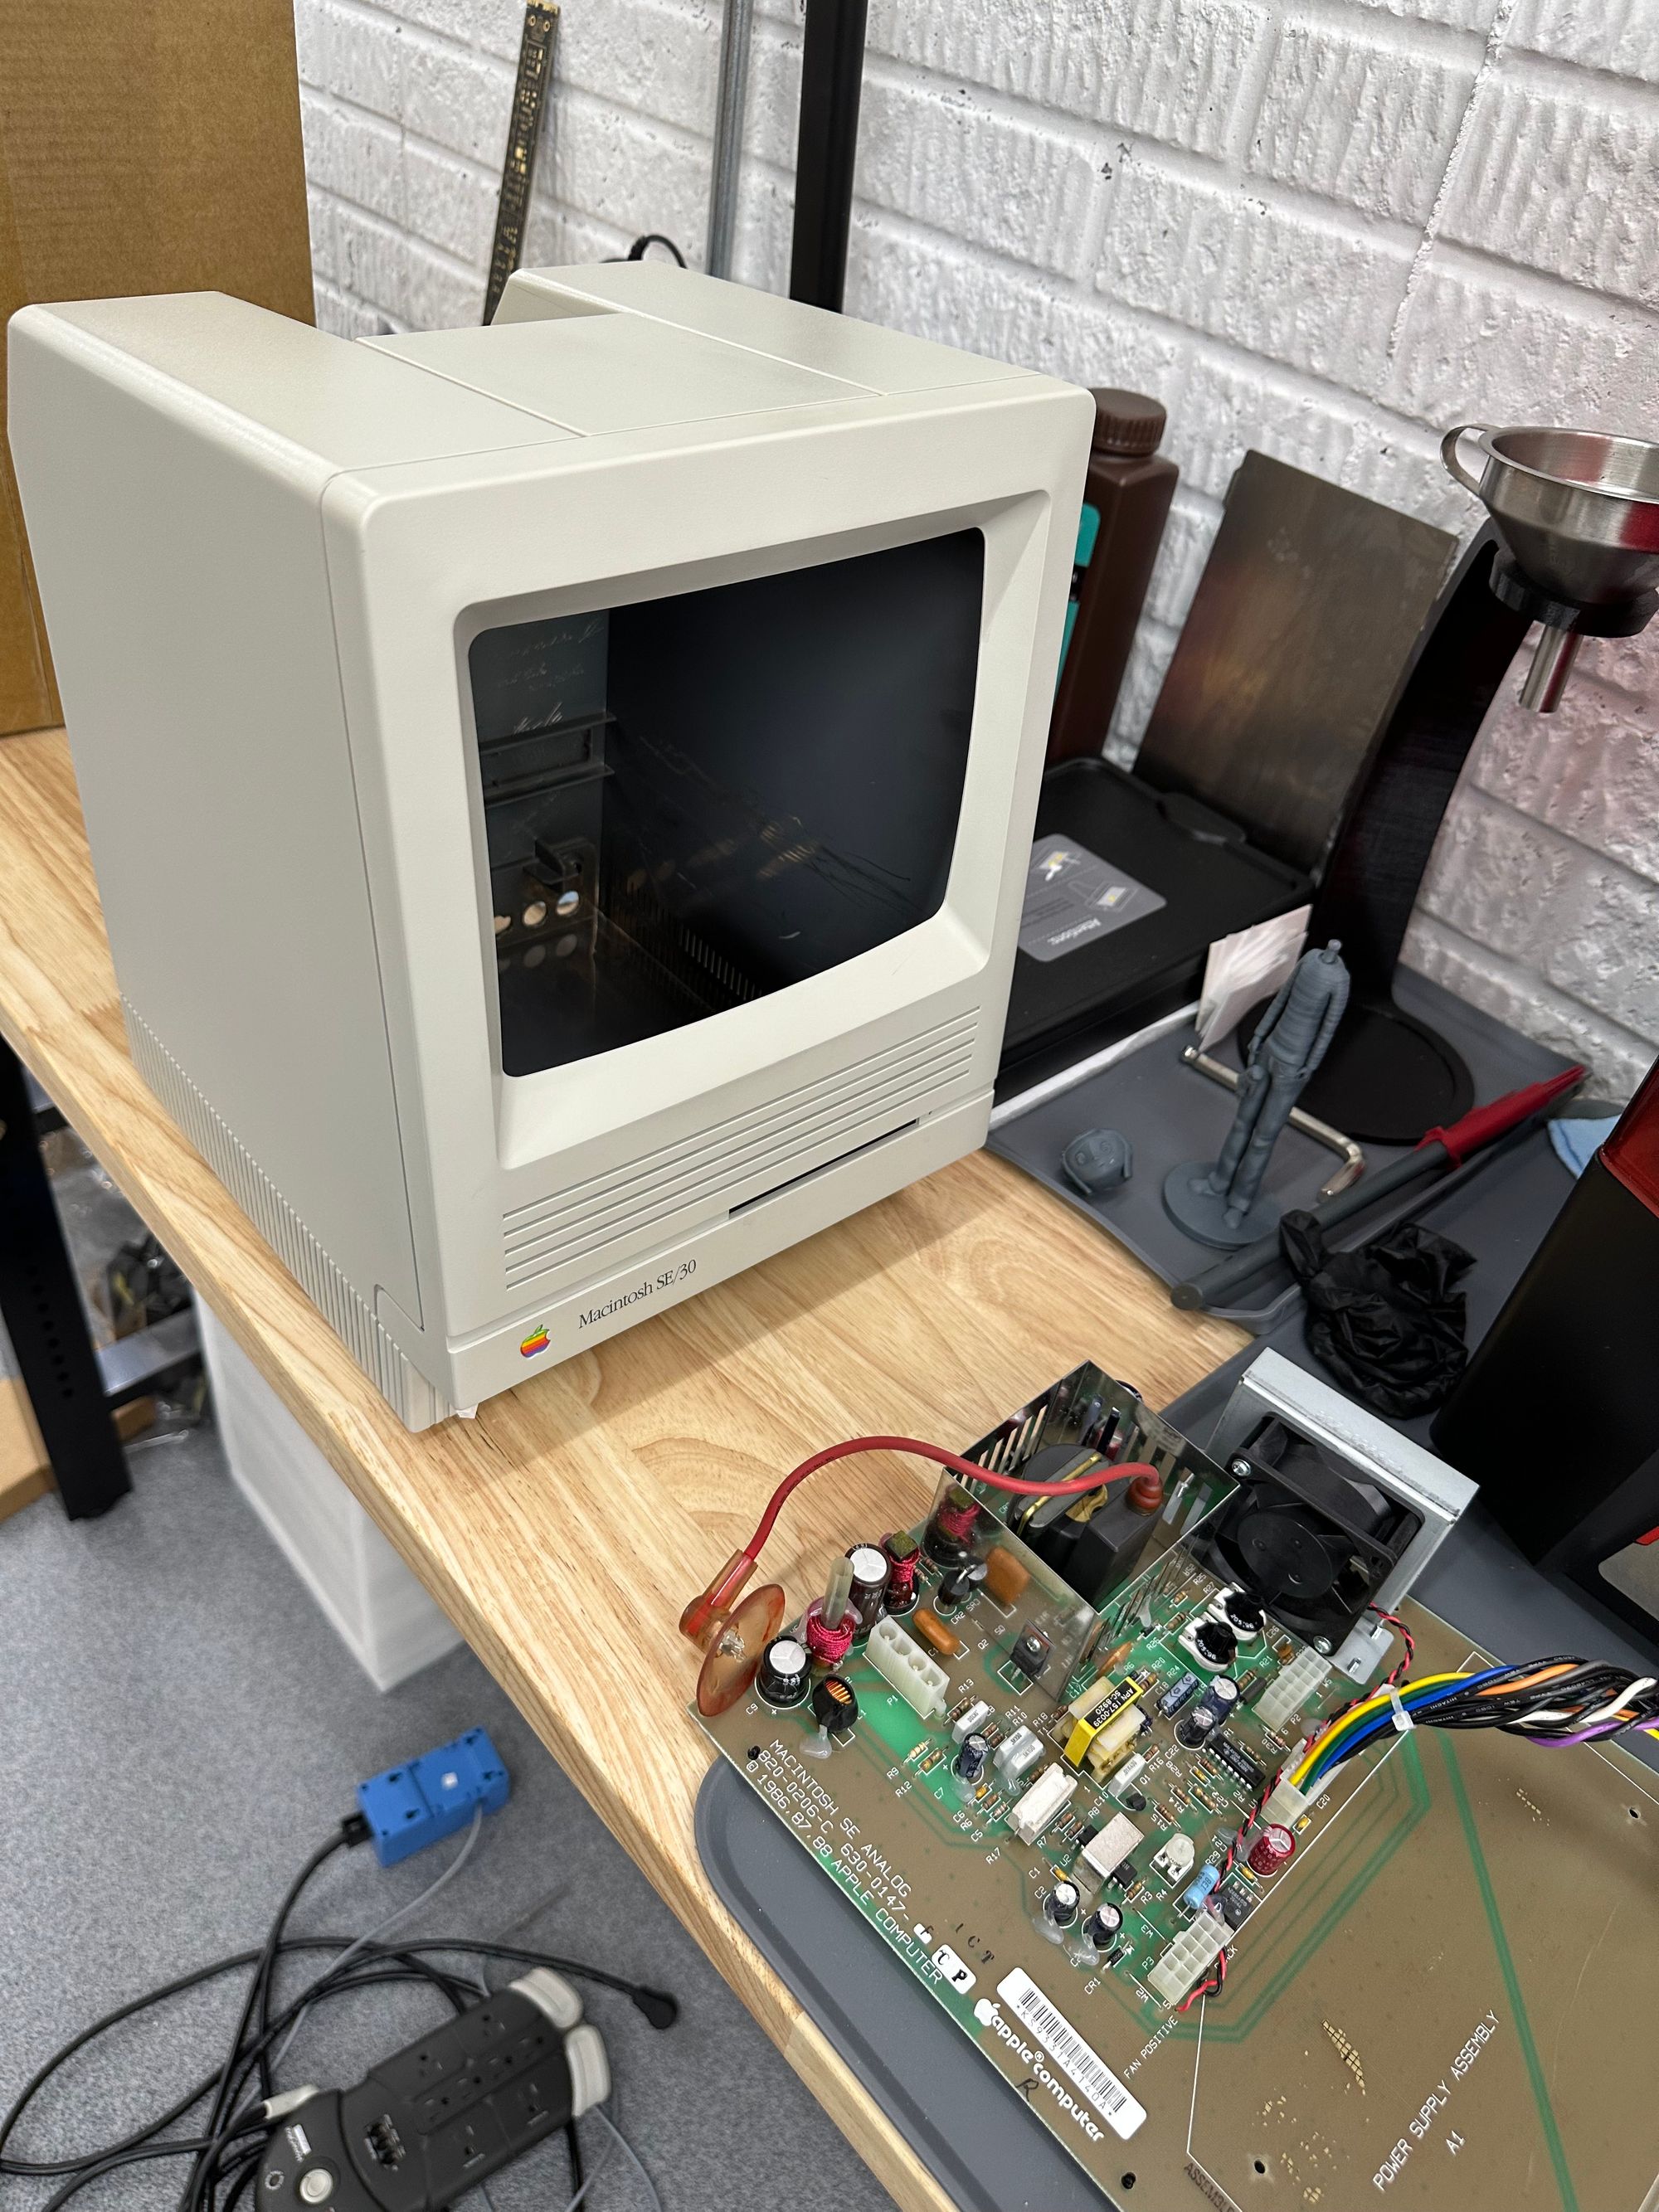
Two years ago I found a clean SE/30 locally on Facebook Marketplace for $200. The case wasn't too yellowed and it powered up so I thought it would be a small retro computer project to do with my son. It turned out to be a multi-year project diving deep into the guts of the SE/30. When I got it home, it was not fully booting up and was experiencing the "Simasimac" symptoms. That was just the beginning of the the fun.
I figured I would send the logic board out to have the capacitors replaced and it would be an easy fix. I should have sent it to Tom at Amiga of Rochester who would have validated the board worked, but I didn't know better. Seriously, that would have saved me over a year and a lot of pain if I had just had Tom do the initial re-cap of the board. When I received the board back with new capacitors, it did boot, but had 'jail bar' lines in the screen.
In the mean time I also picked up 64MB of RAM from OWC and a new ROM from BMOW. While that would eventually let me run a newer version of MacOS, it was not the solution to the video problem.
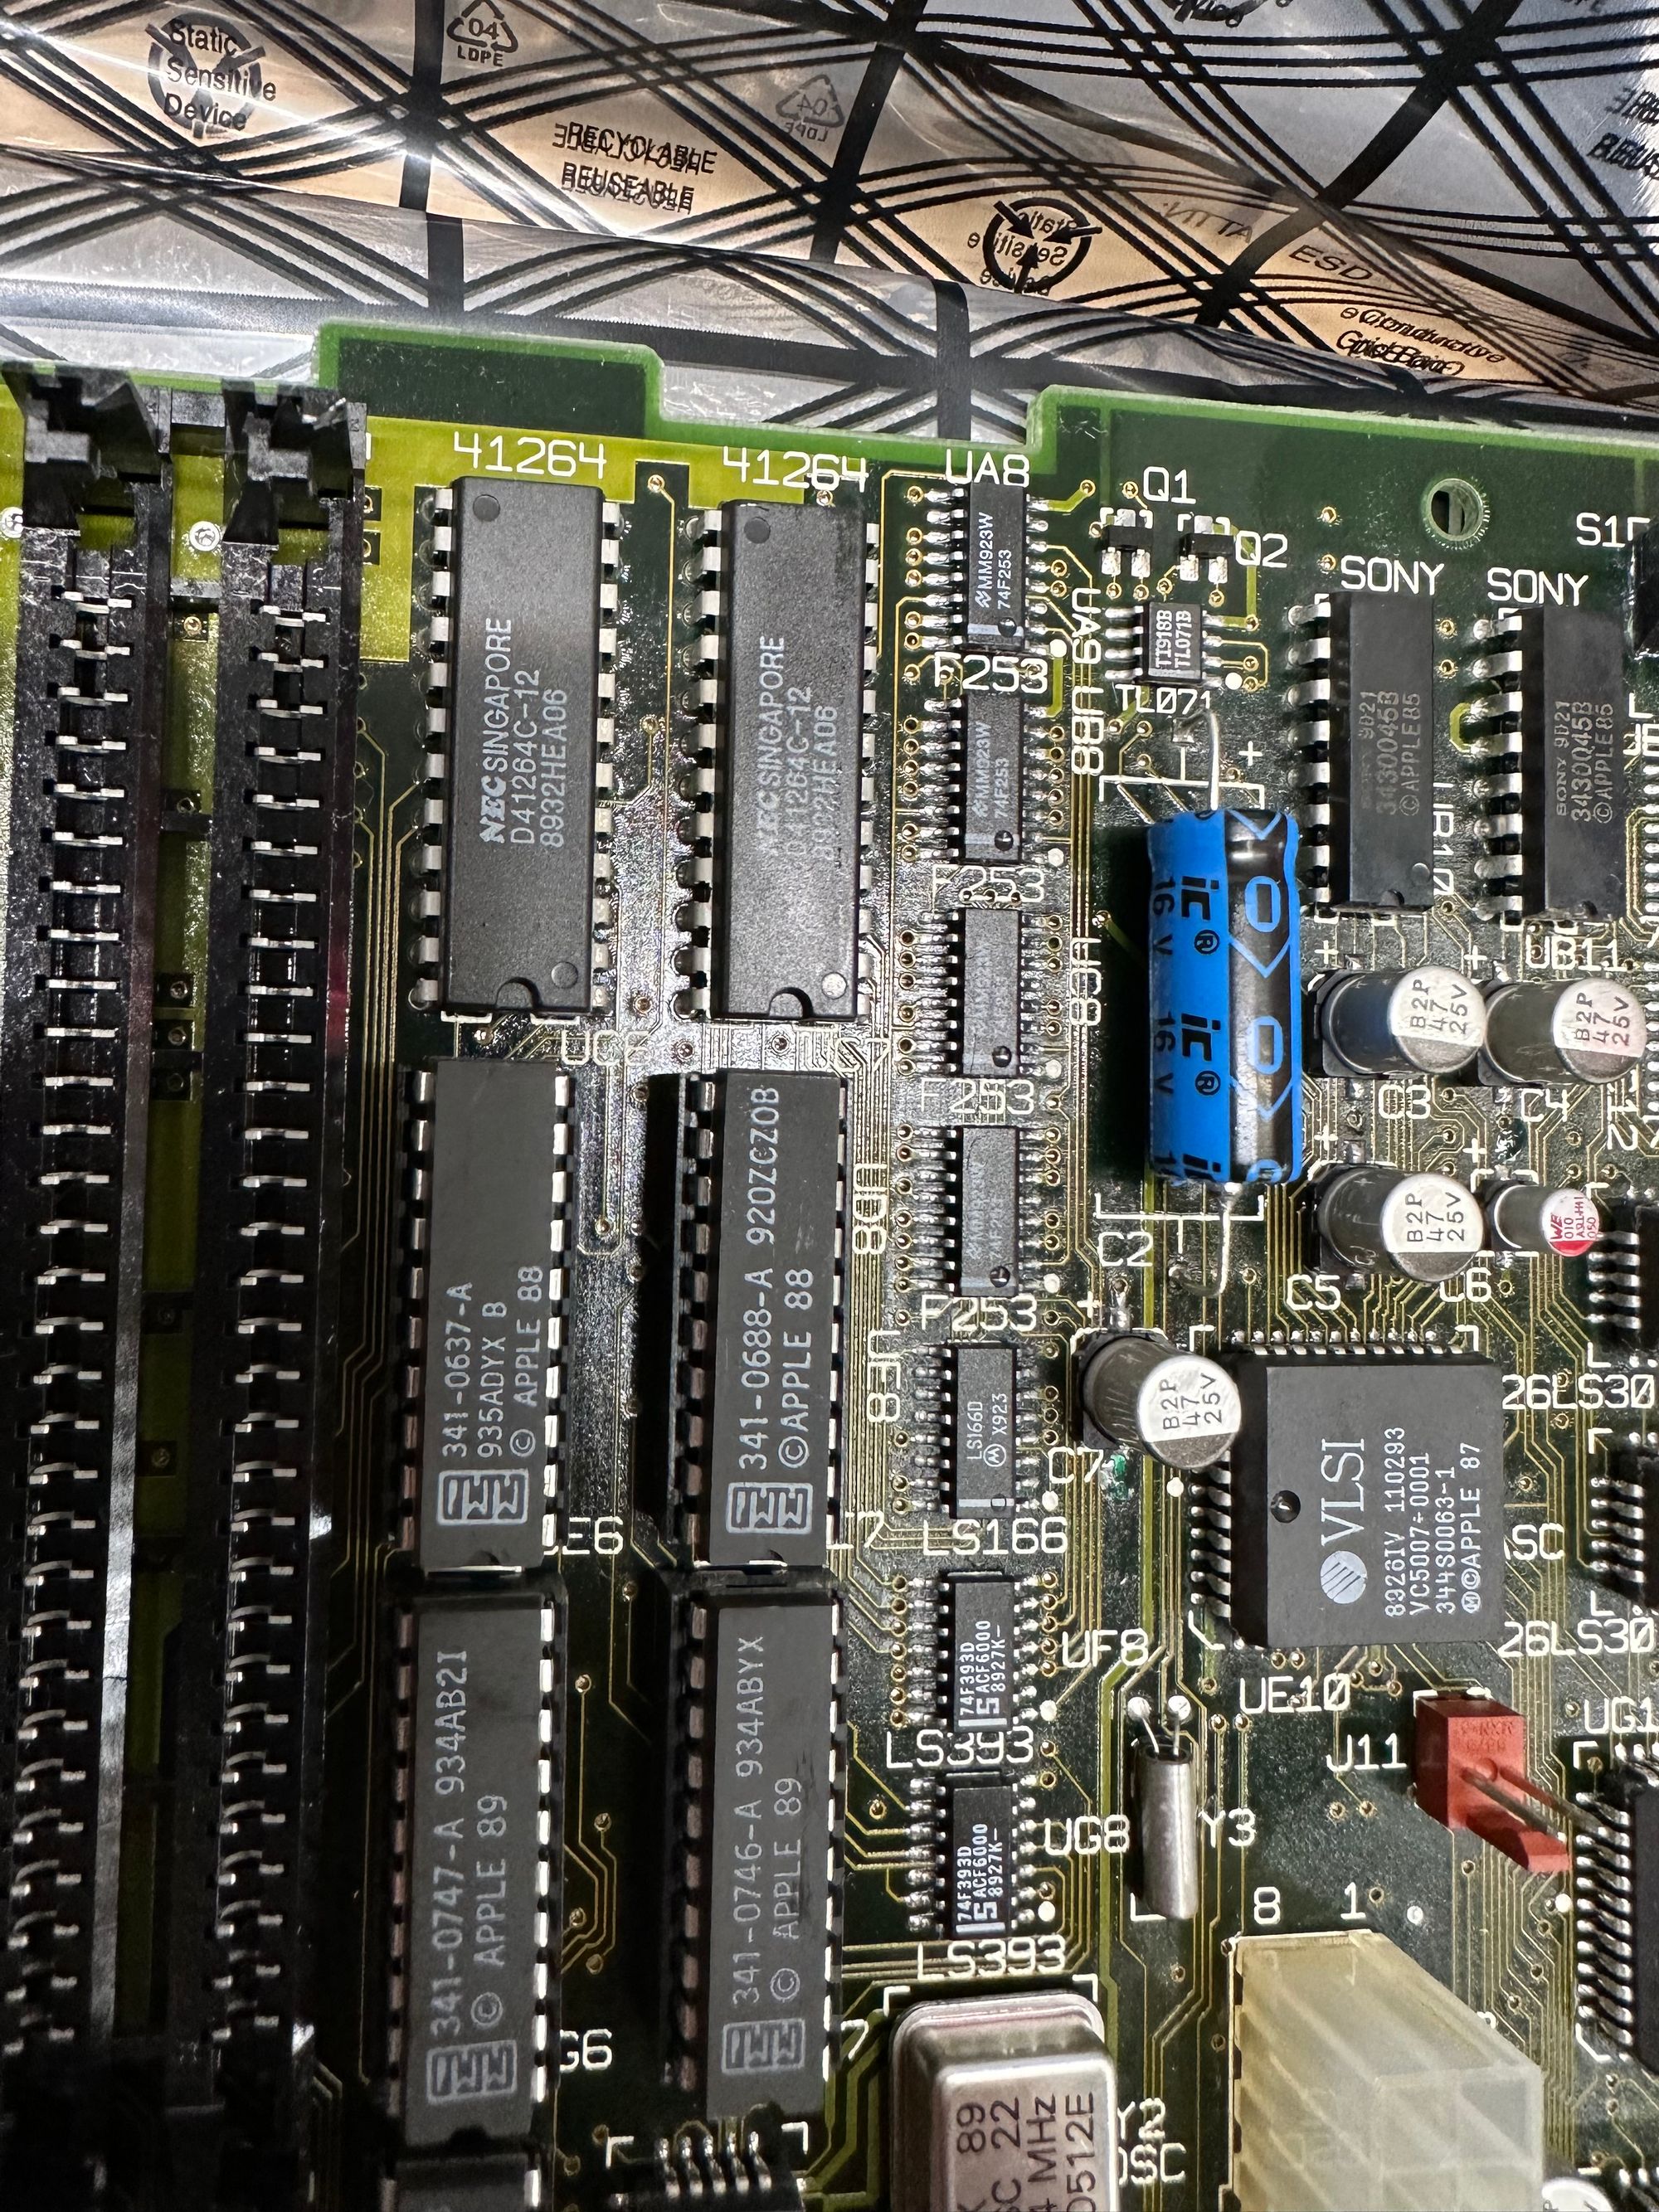
Luckily, the SE/30 is a popular machine with retro computer enthusiasts. The schematics for the board are published online. I couldn't find anything wrong, but the consensus online was that the video multiplexers (UA8 to UD8) are usually to blame. Those chips are surface mount and near other components on the board. I did not trust myself enough to try to replace them. I found someone local at a makerspace that was willing to give it a shot. The problem persisted after those chips were replaced. I eventually purchased a desoldering iron and replaces the Video RAM chips (UC6 and UC7) as that is the next thing that would commonly be the culprit. Unfortunately that did not do the trick.

While it was frustrating, it was a good experience learning how to properly desolder and solder without destroying the board. My previous soldering work was basic and not something I felt I was good at.
Luckily, Tom at Amiga of Rochester was able to find the one bad trace and get the board in working order for me. I noticed he was on the vendor list for VCF Midwest. I was not able to attend in 2023, but wanted to go in order to help sort out this logic board. I had sent Tom the board and while it took him some time to figure out this particular issue, he was up to the challenge and I'll be using him for future projects.
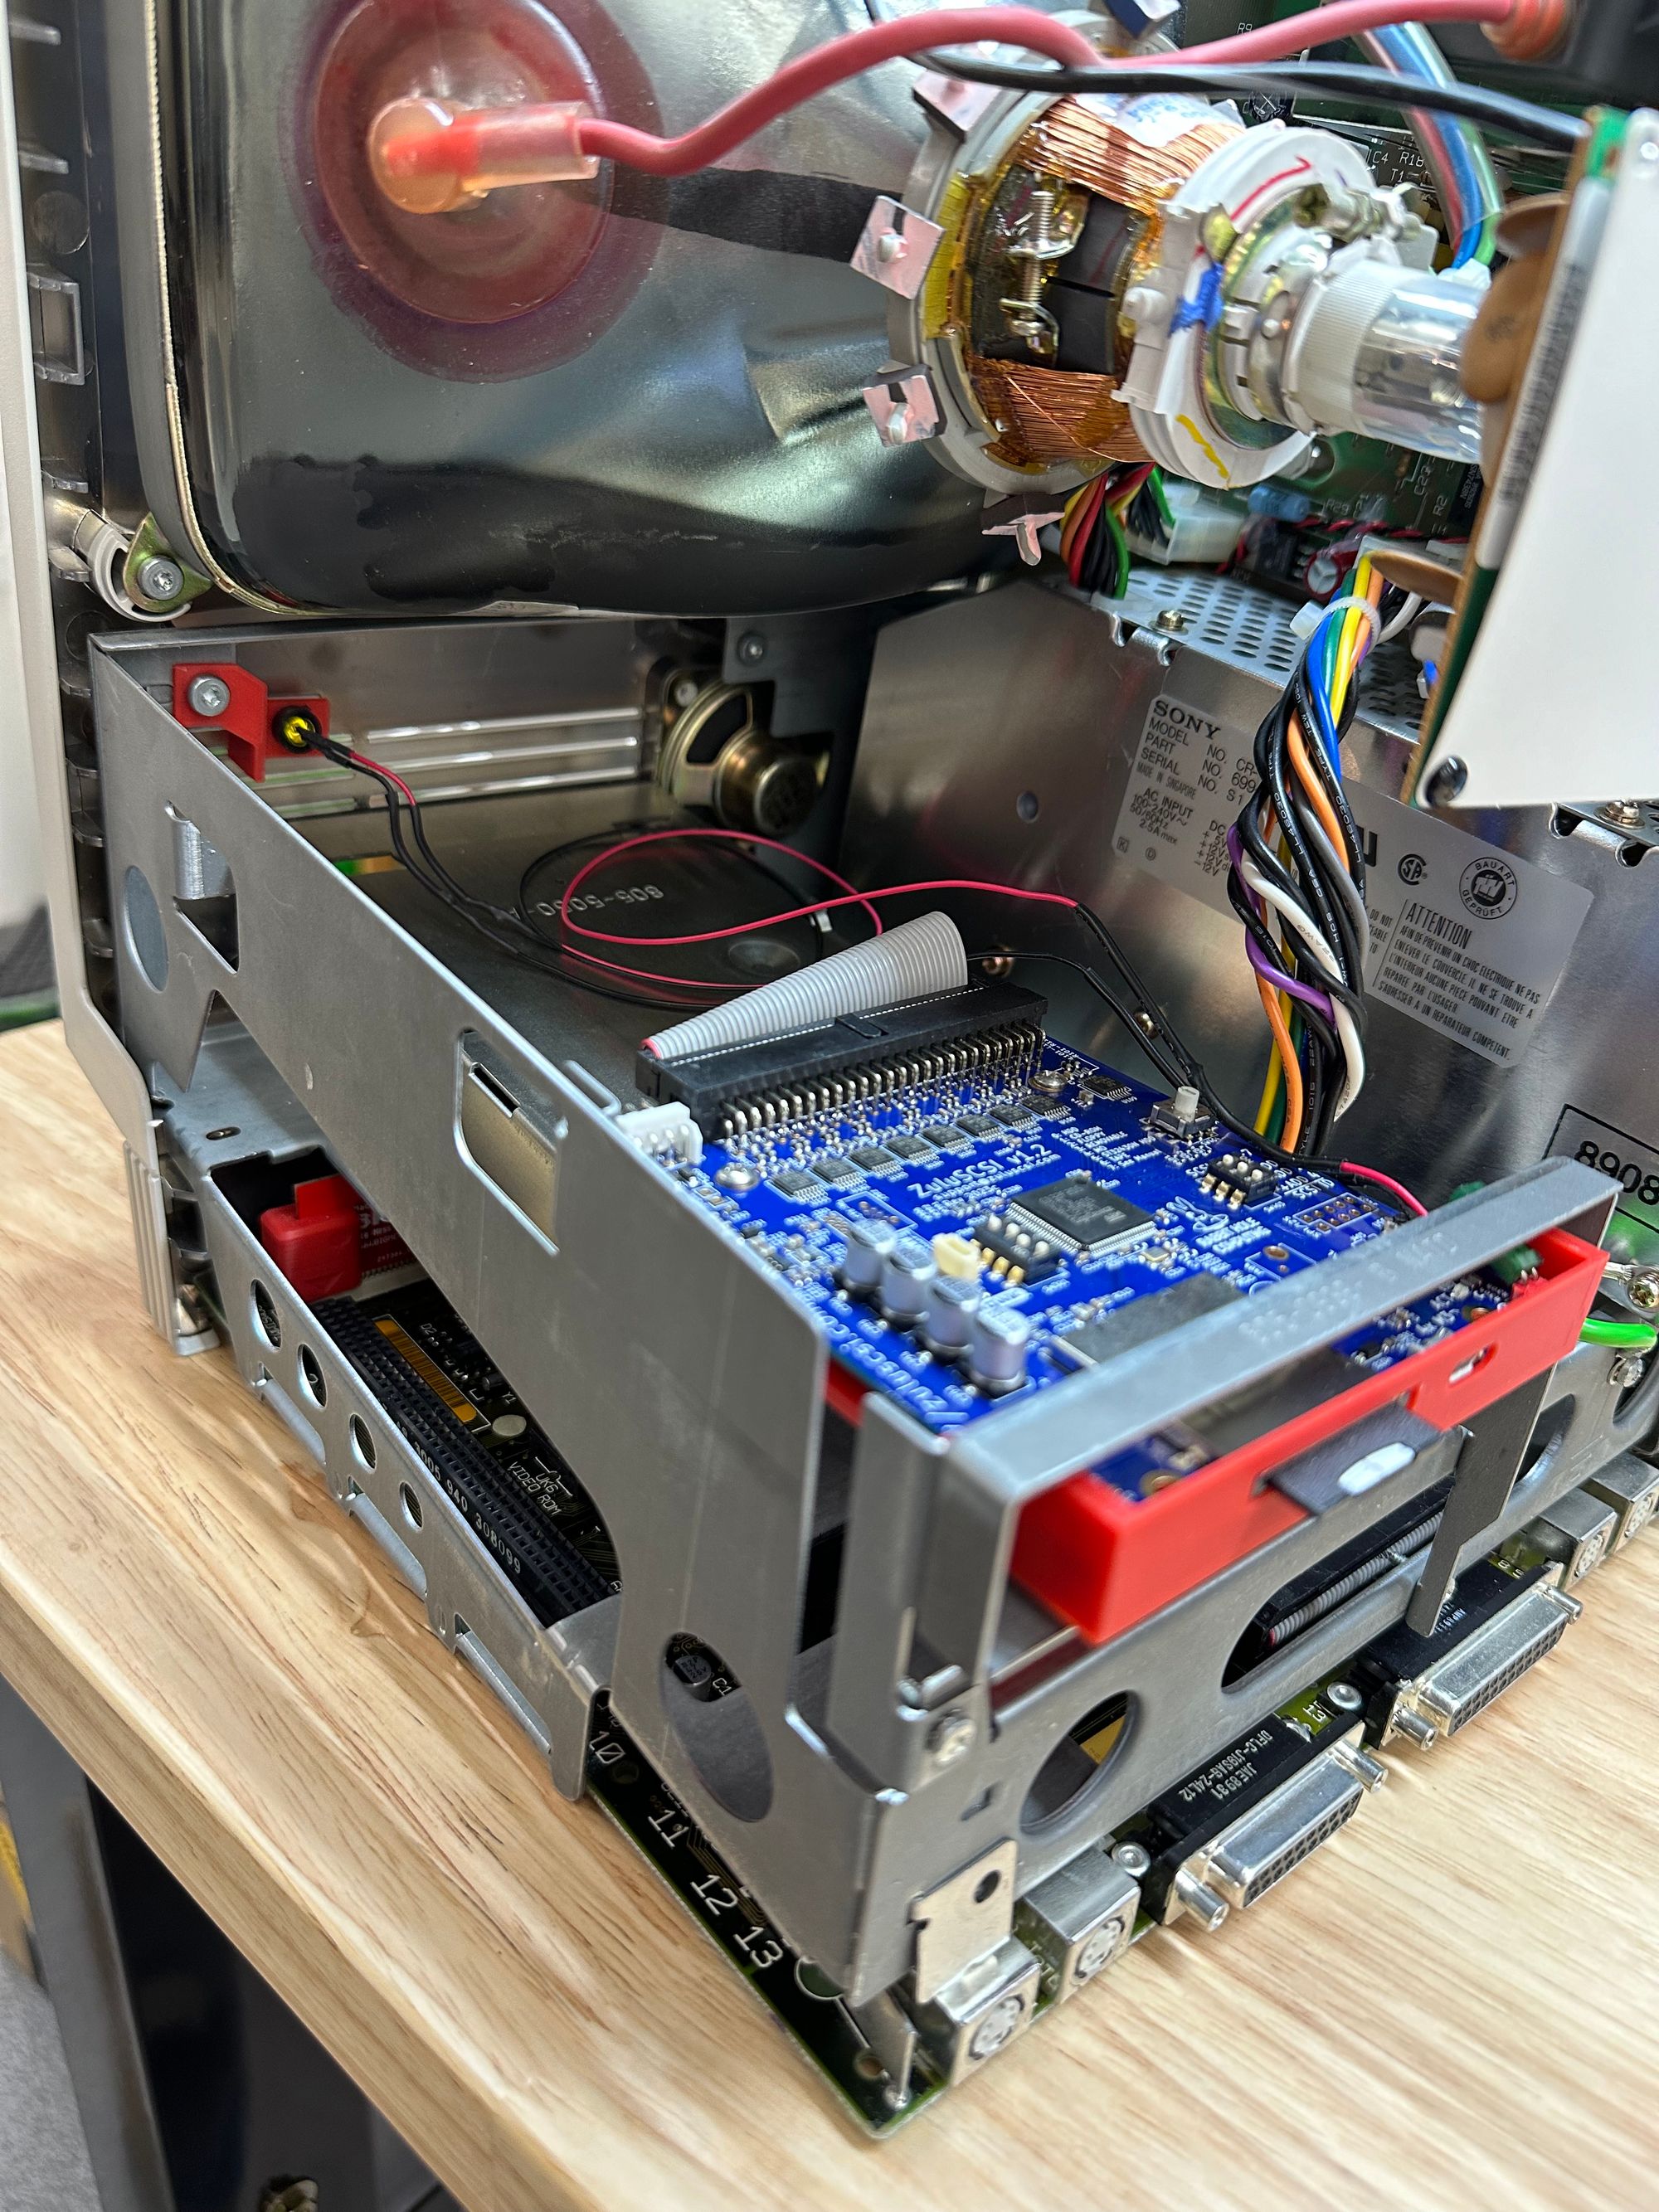
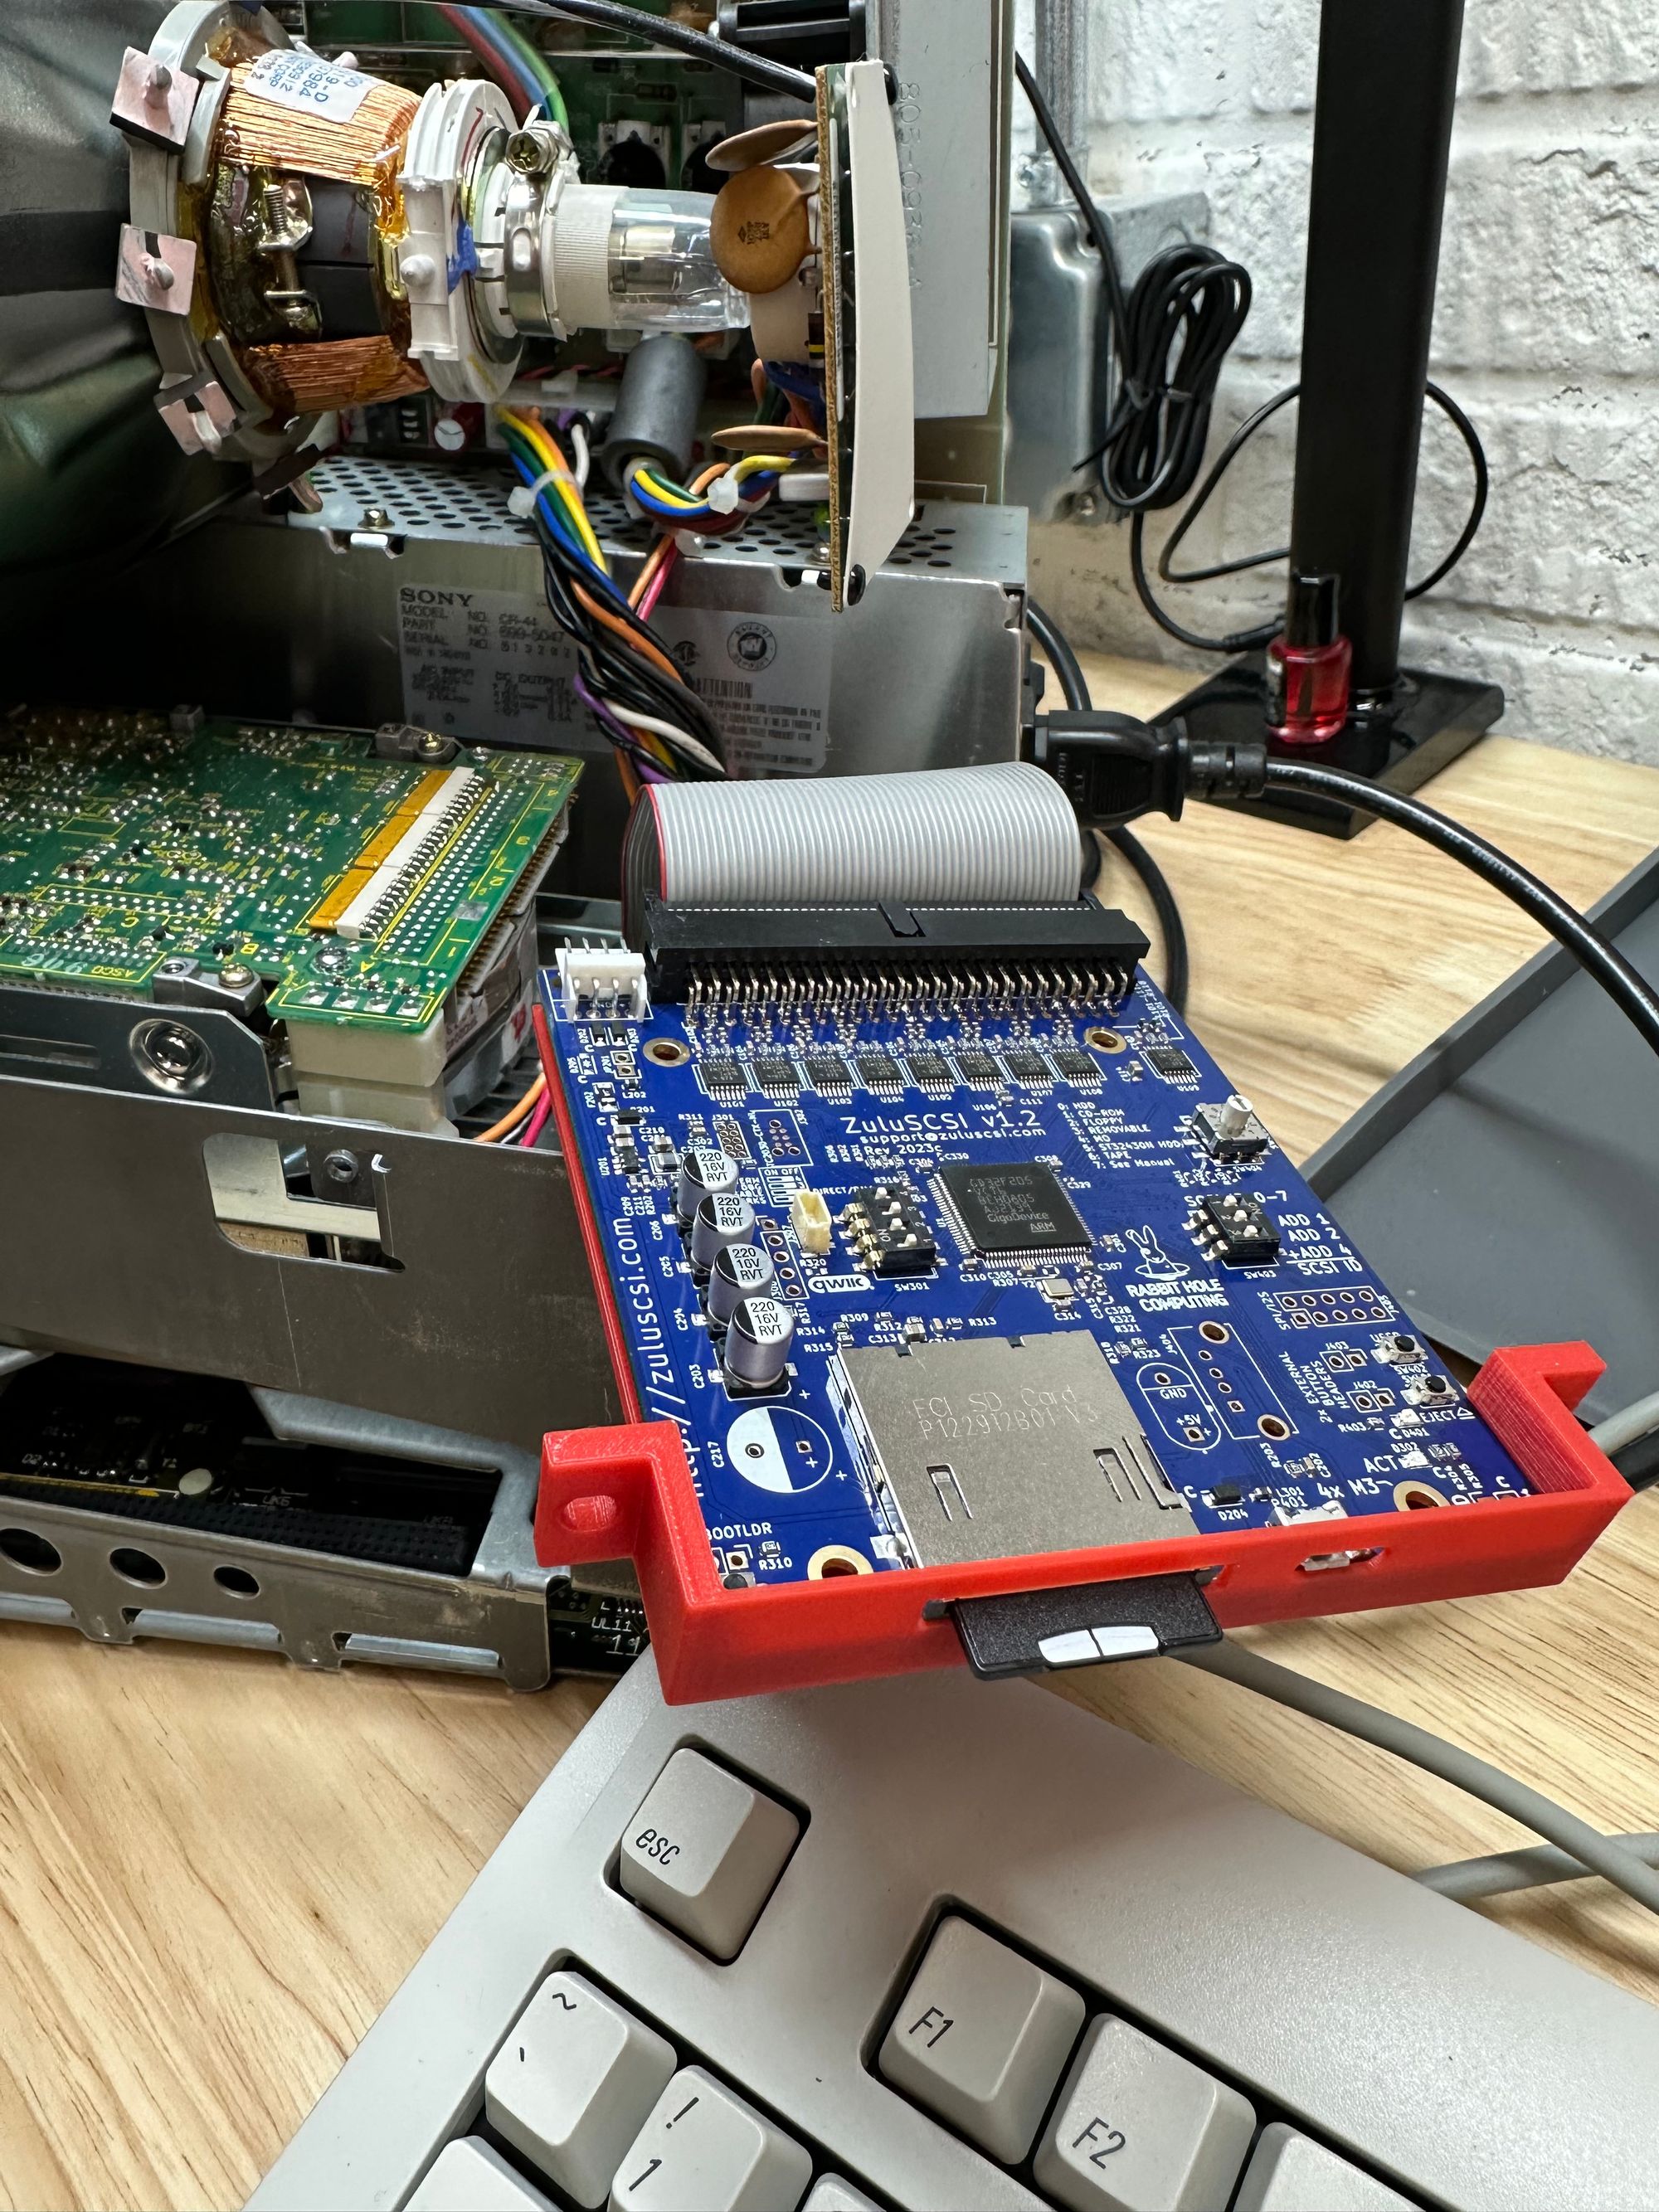
Now that I had a working machine, I needed to pickup a SD card SCSI emulator. BlueSCSI is a common solution, but at the time they were not in stock. I went with the ZuluSCSI instead. ZuluSCSI is based off BlueSCSI, but does not require a Raspberry Pi. Unfortunatly, that also means ZuluSCSI doesn't benefit from the Pi's network connectivity. When I want to get this online, I'll have to add another bit of hardware to connect to the network.
Getting the ZuluSCSI to recognize a disk image turned out to be another set of problems. The main solution that helped was to not use the factory formatting or Disk Utility in MacOS to format the SD card, it only worked after using this SD card Formatter. It took some Googling to figure out how to create a disk image to put on the SD card. I was able to emulate classic MacOS using Basilisk II on my 2015 MacBook Pro and copying that disk image over to the SD card. After finding a ROM and MacOS 7.0.1 install media, the biggest trick was to create the disk image using Disk Jockey using the setting specifically for BlueSCSI.
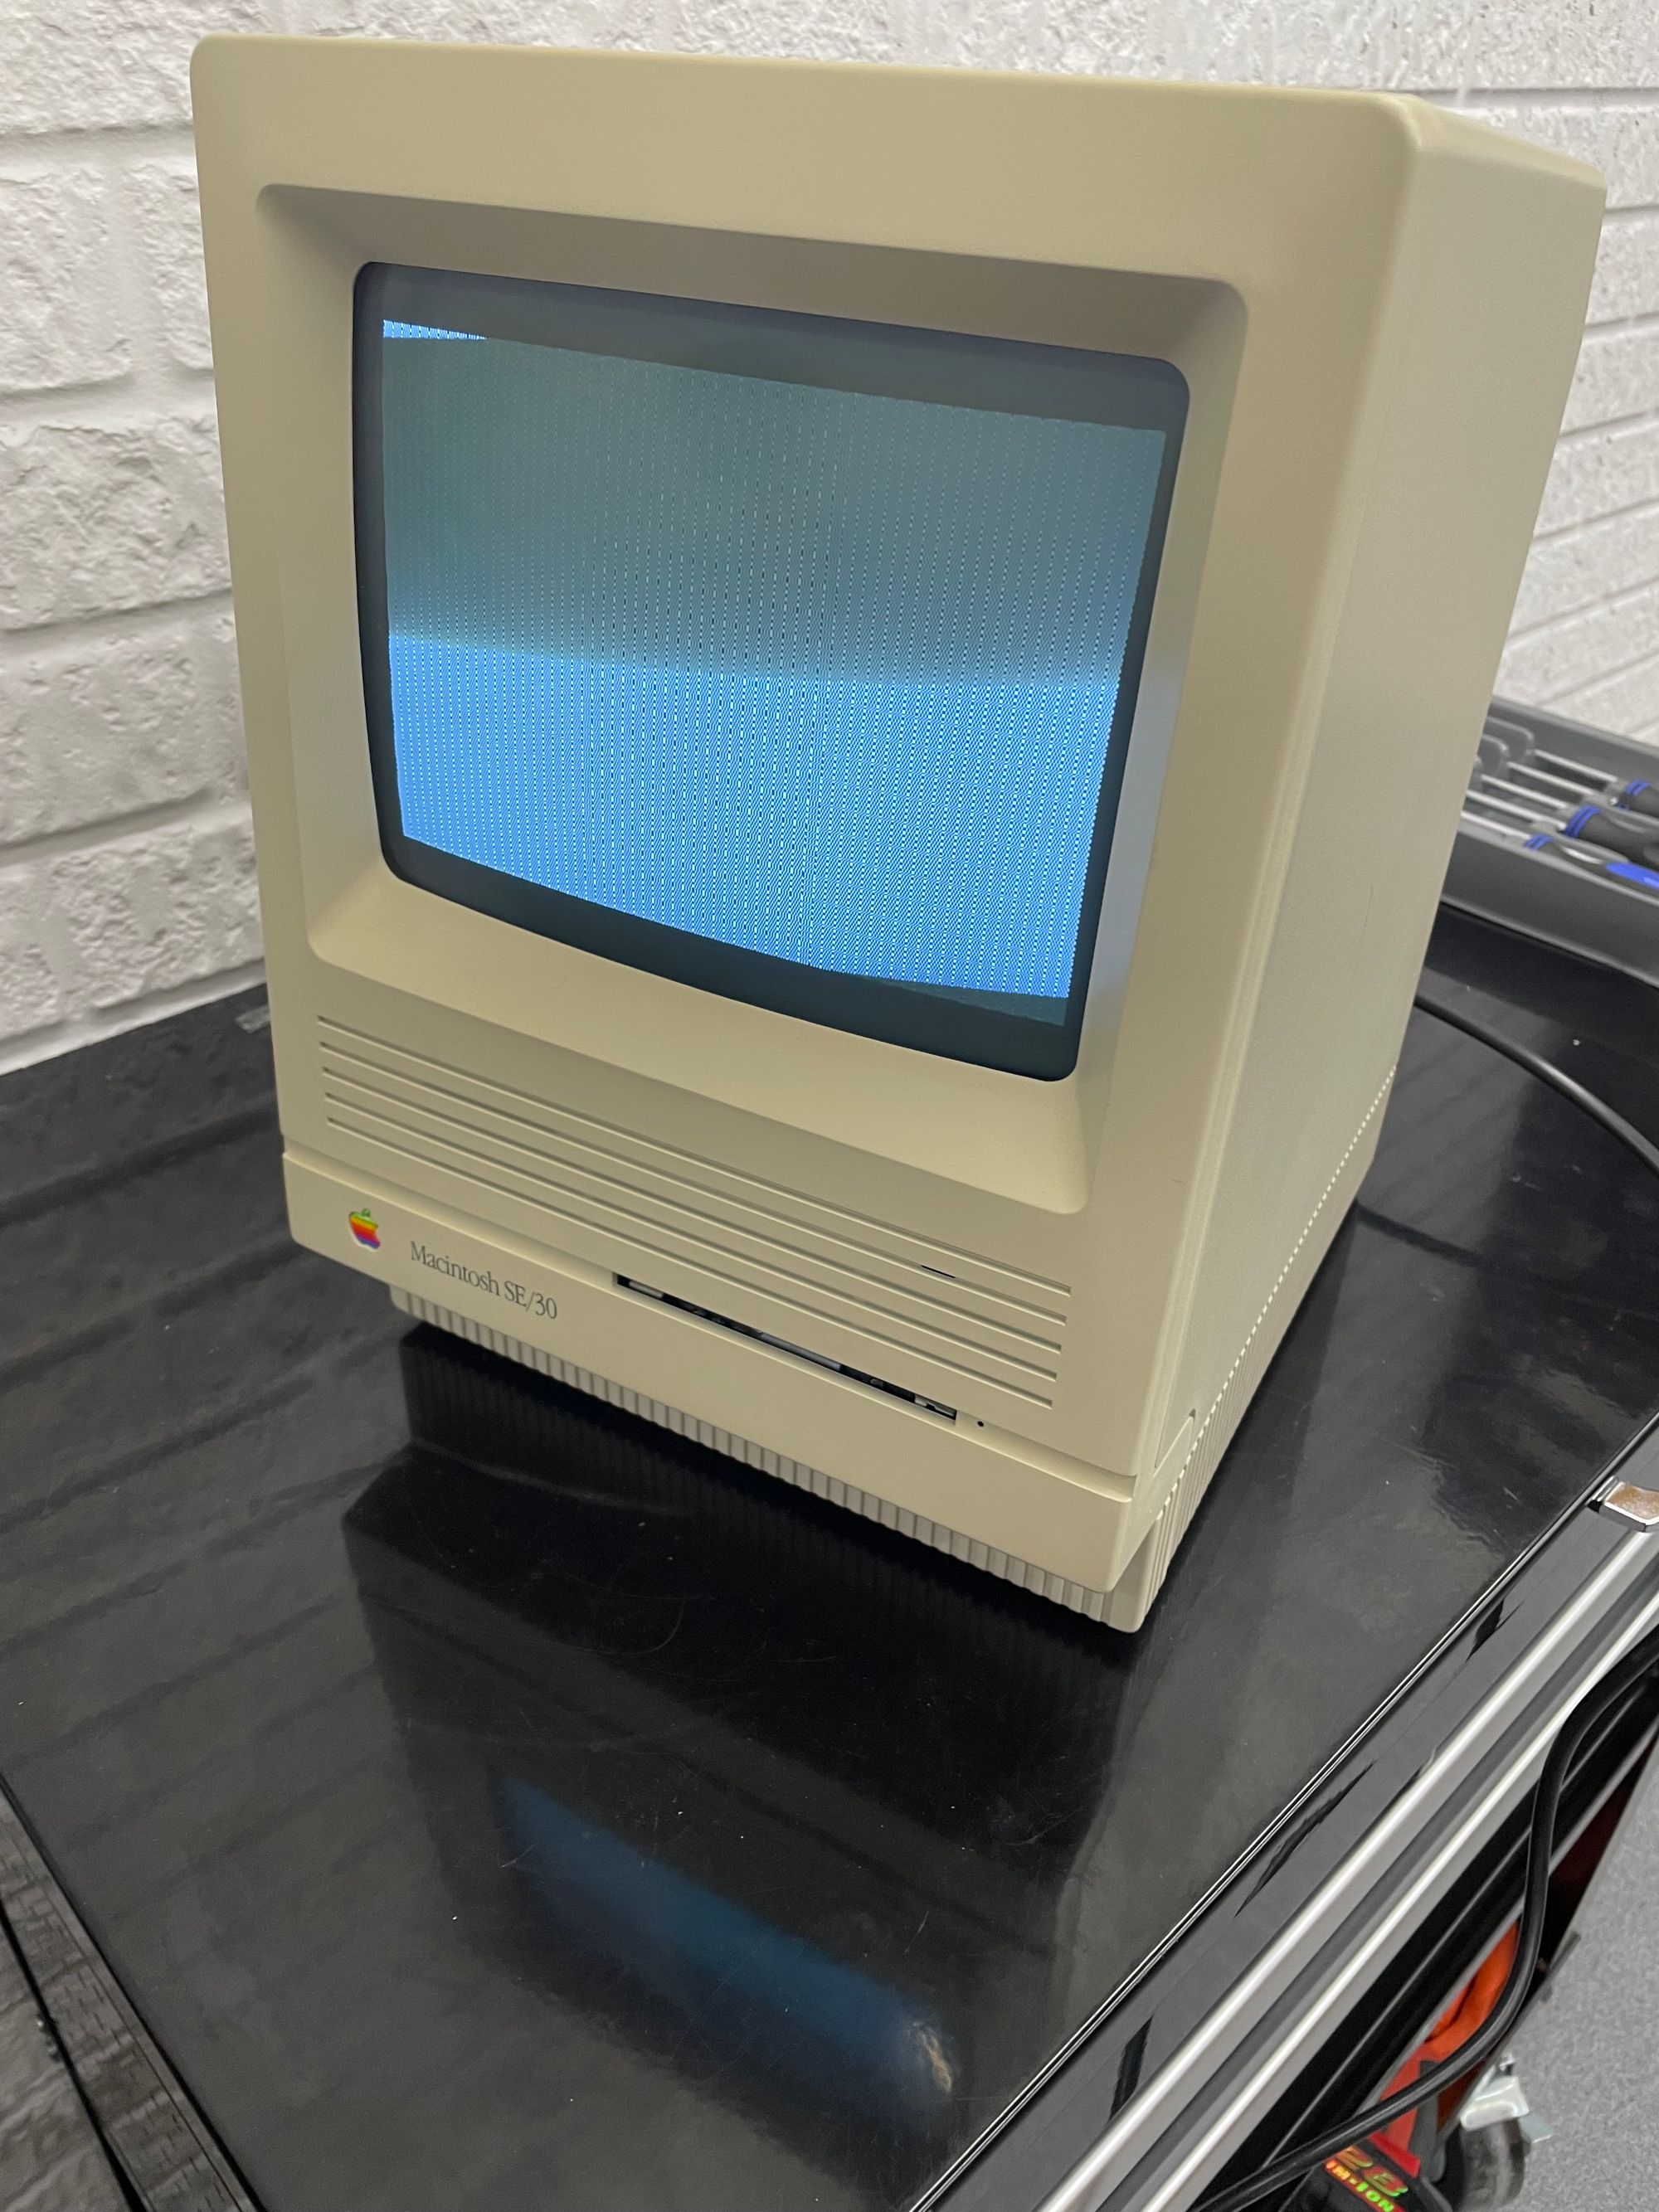
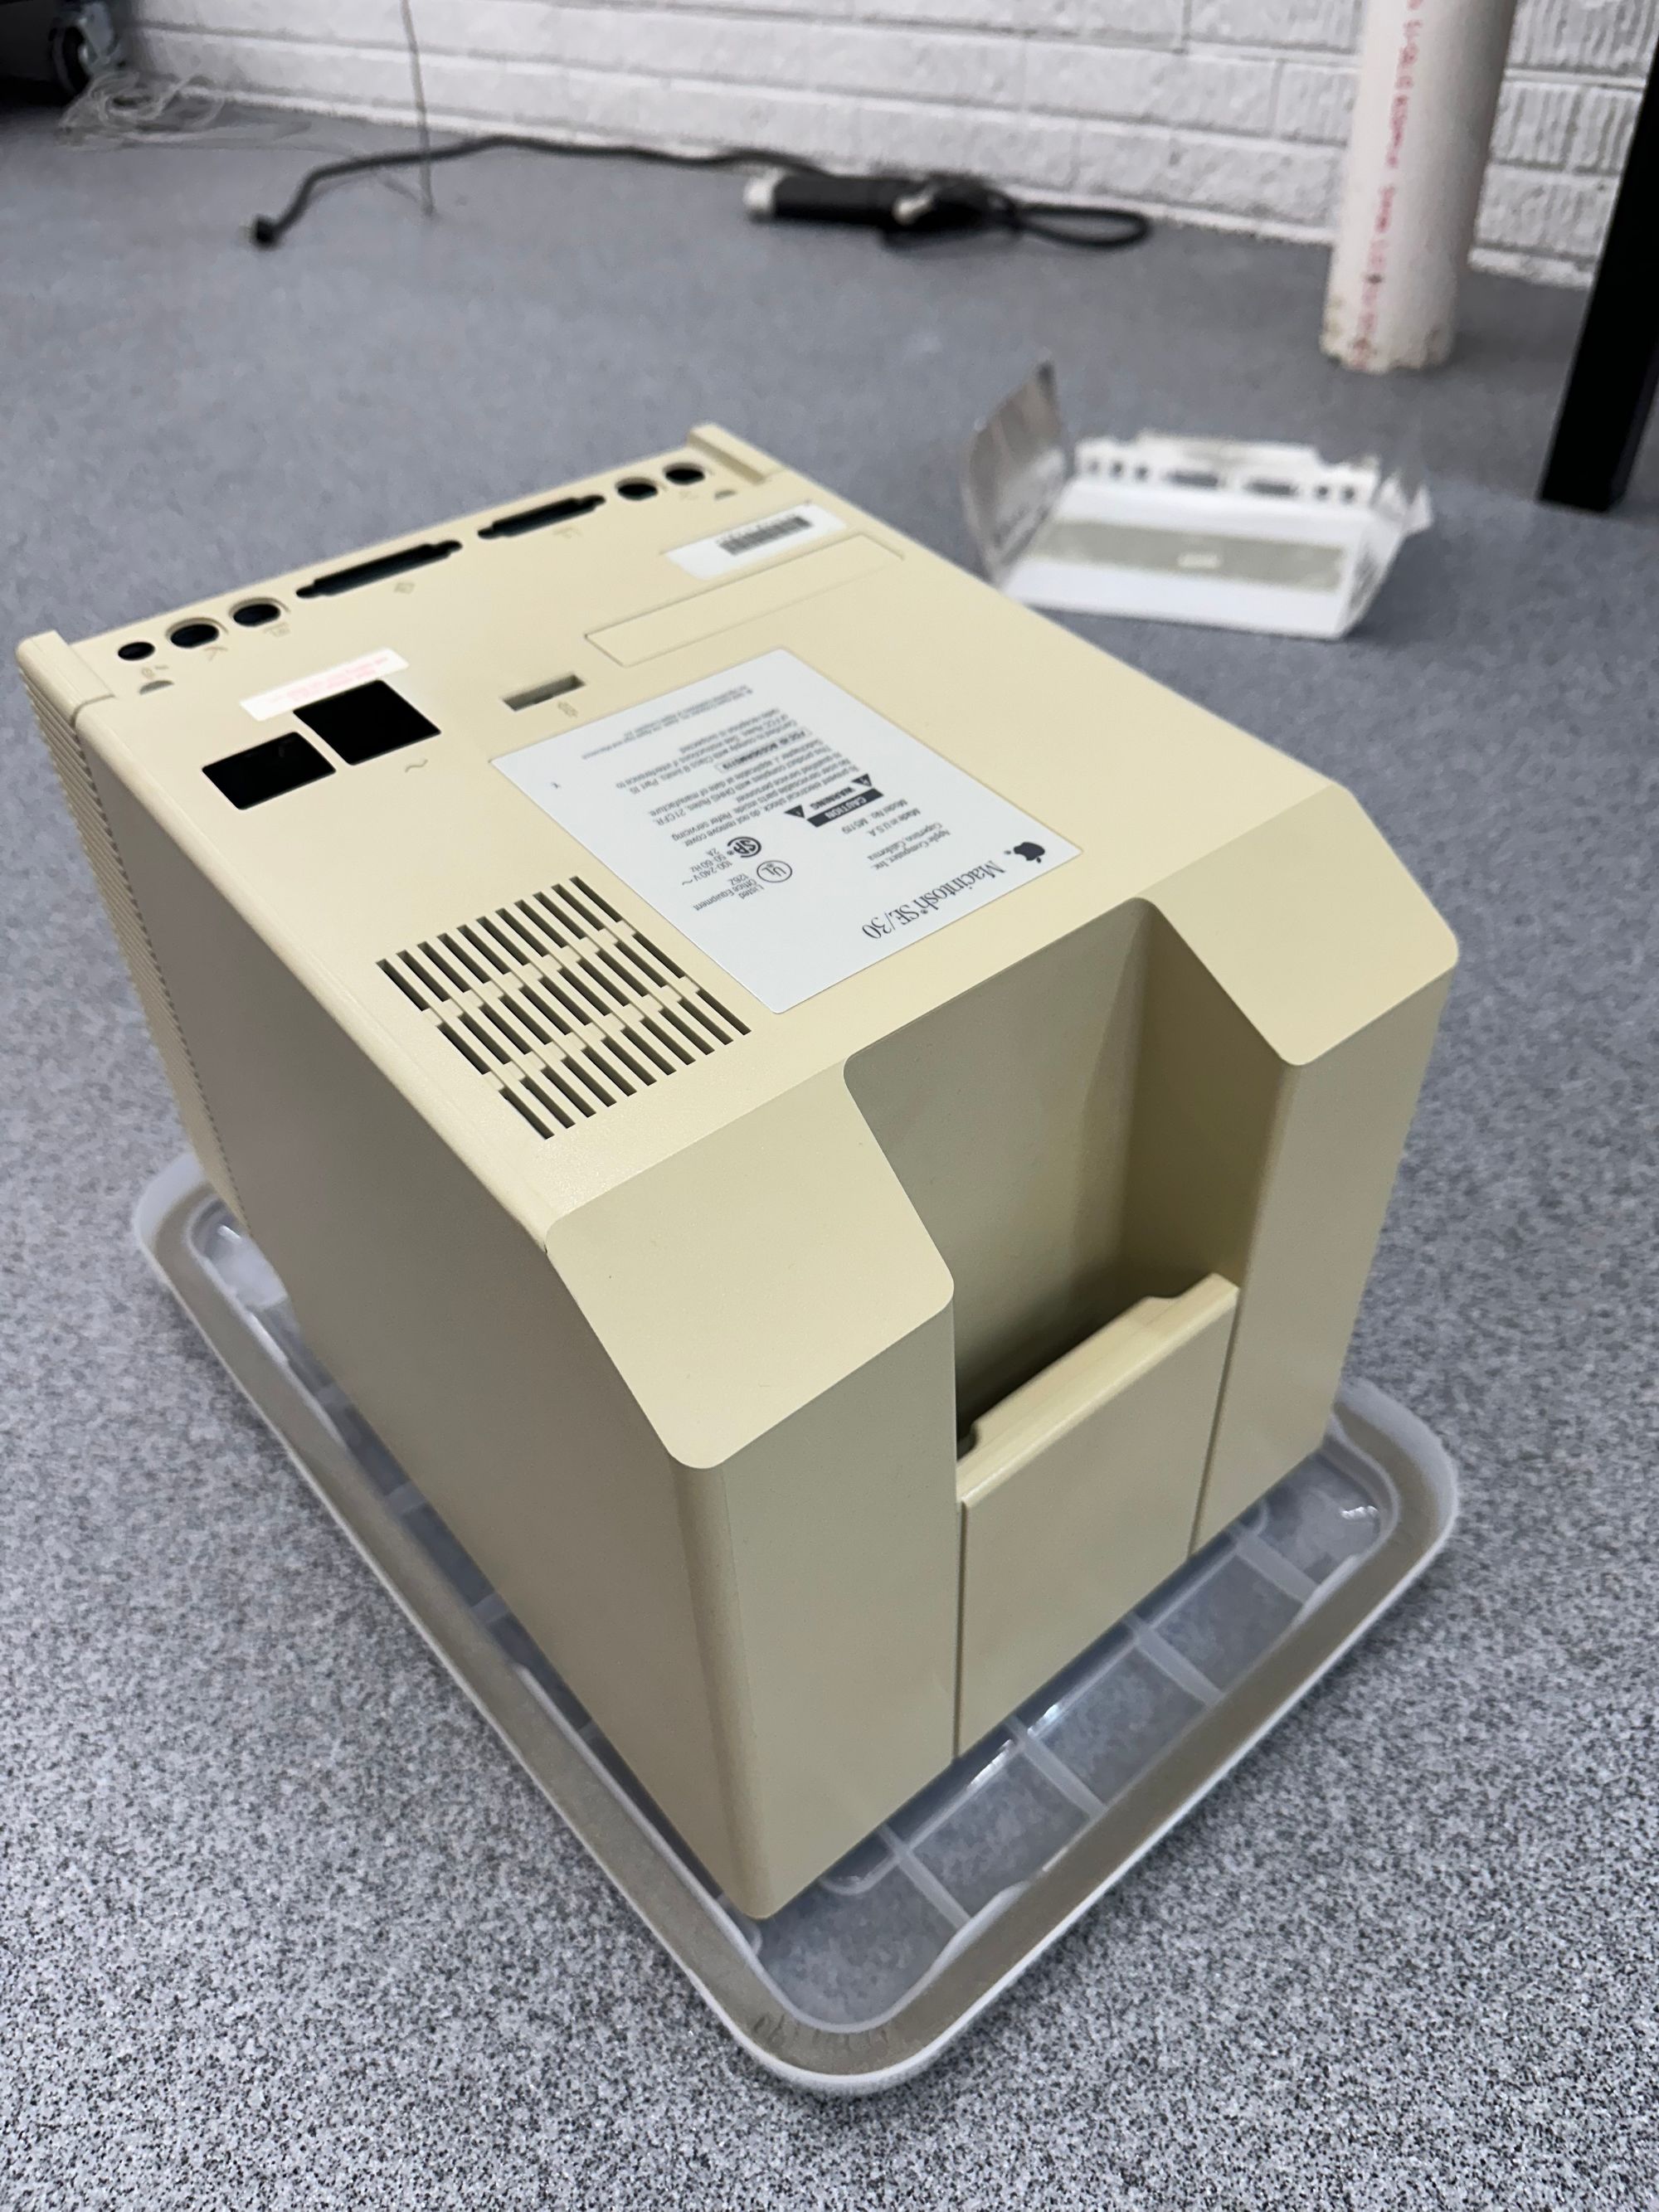
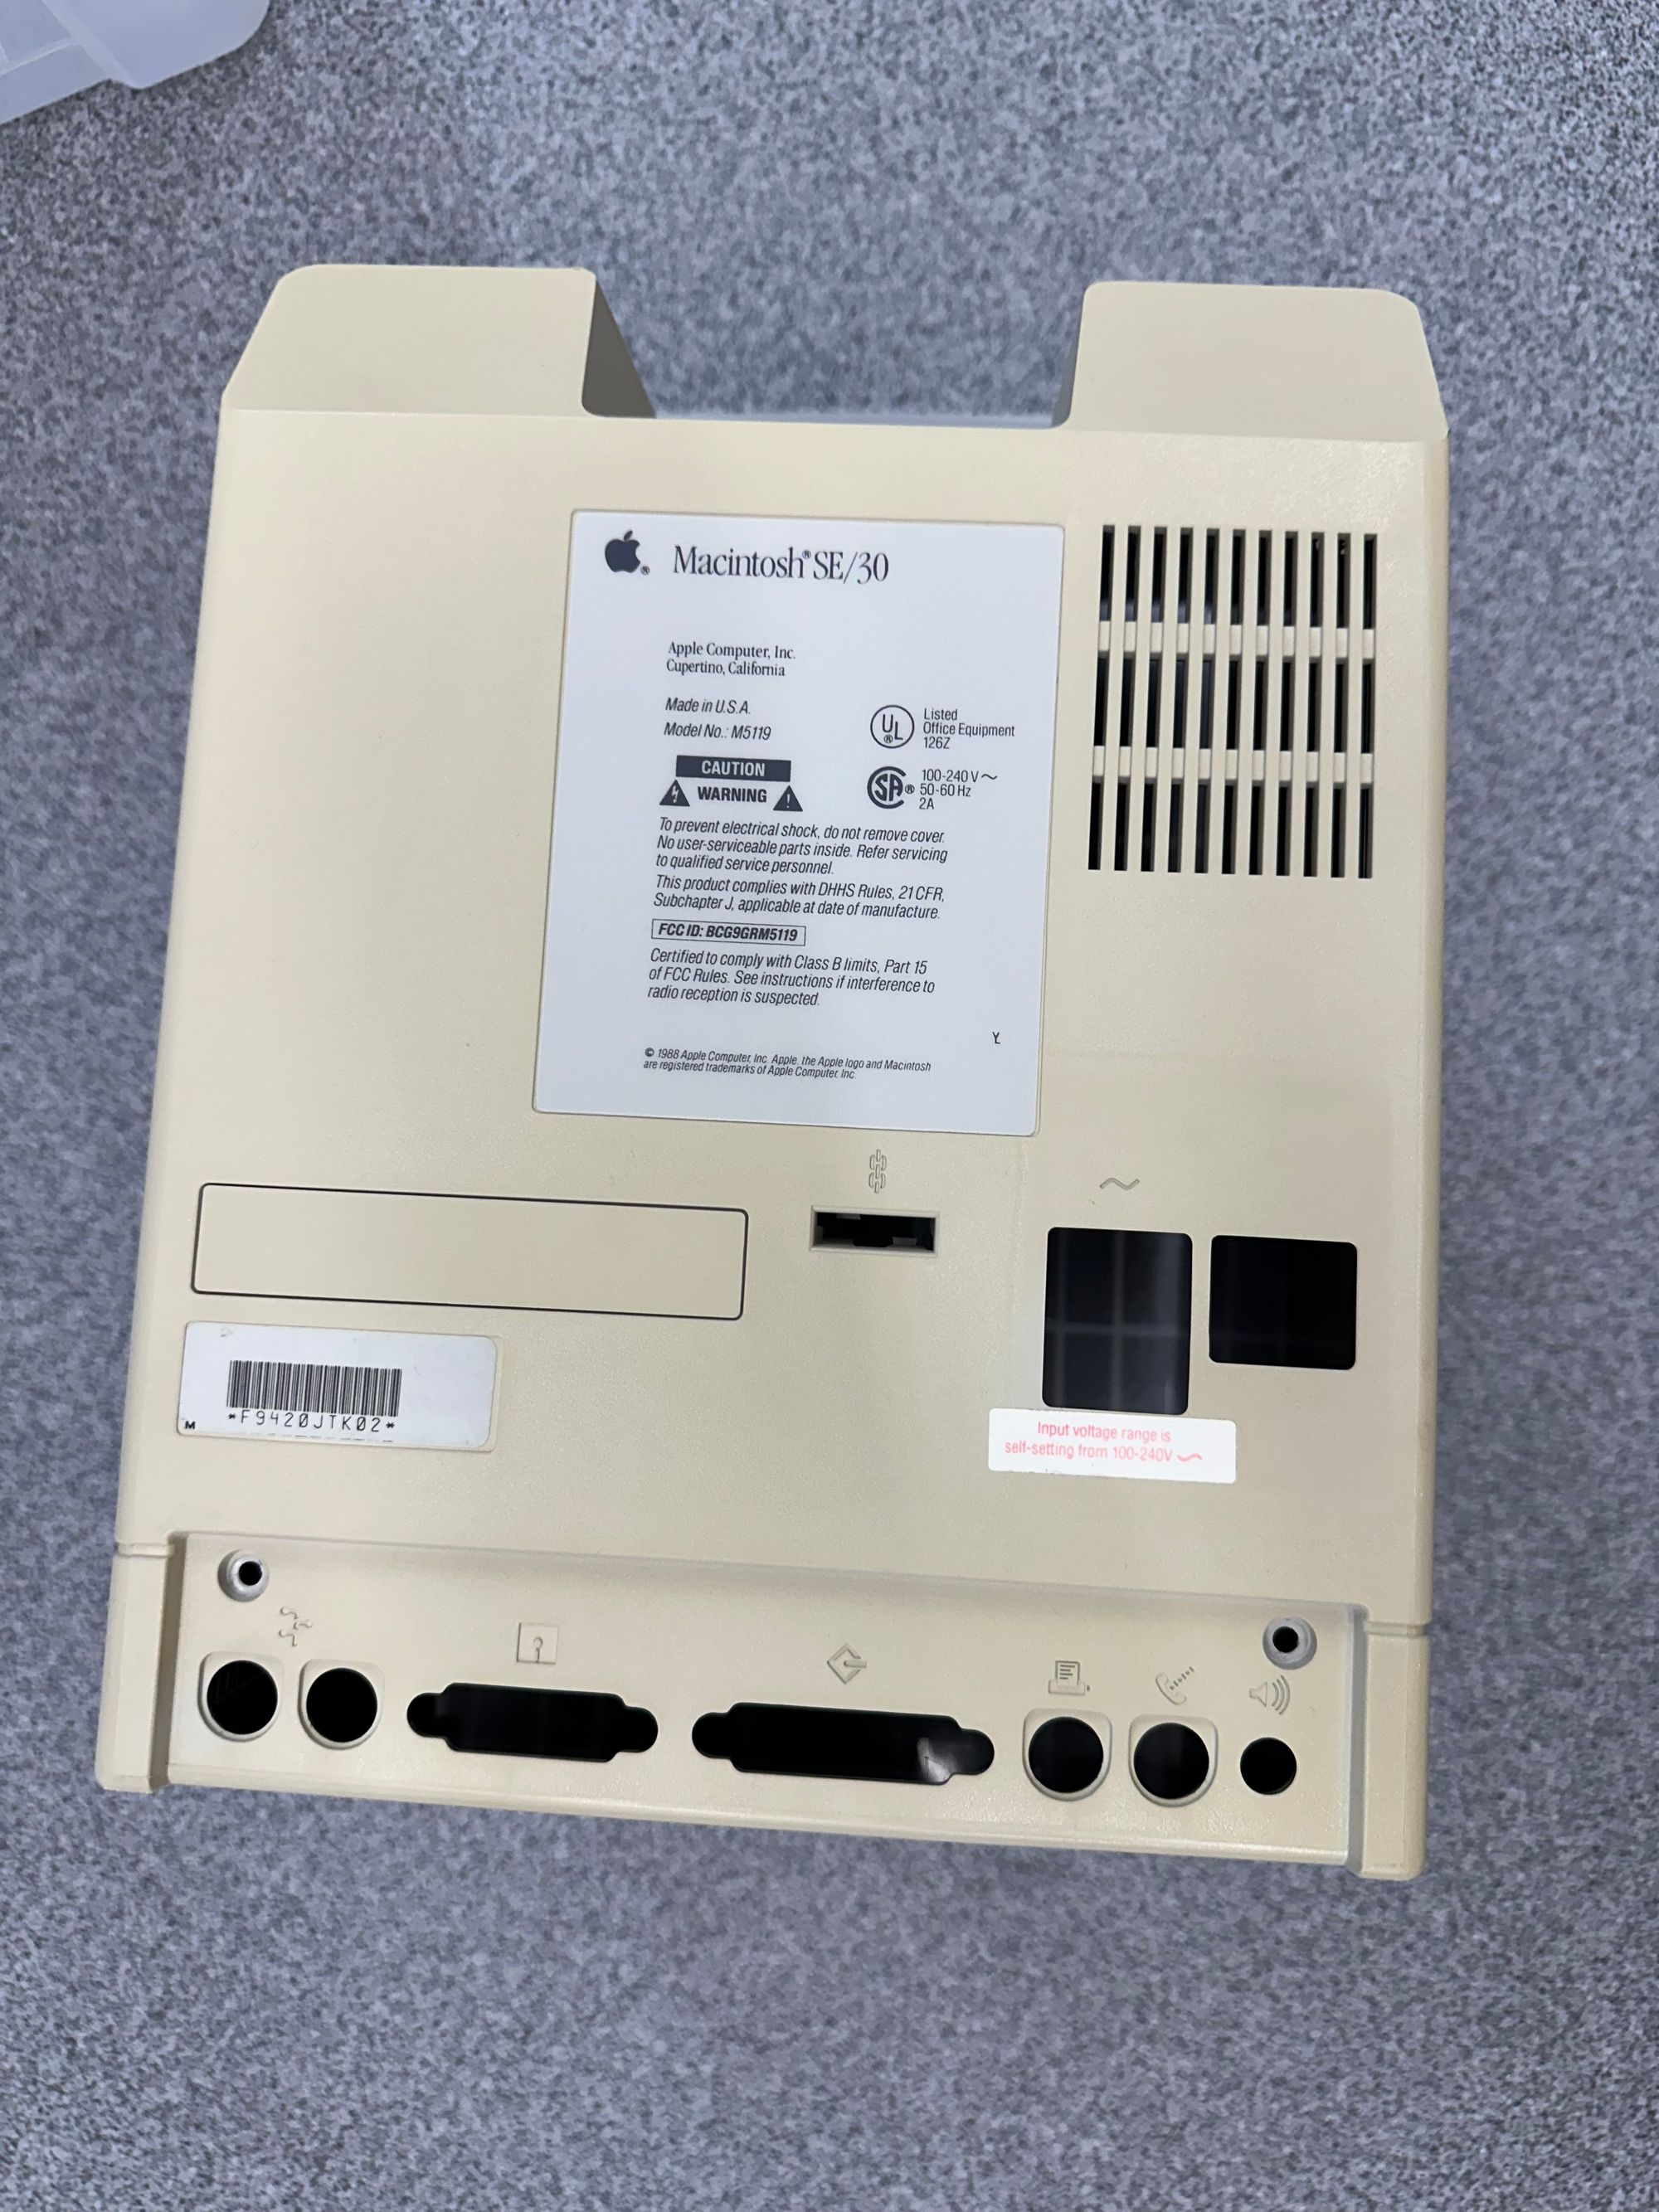
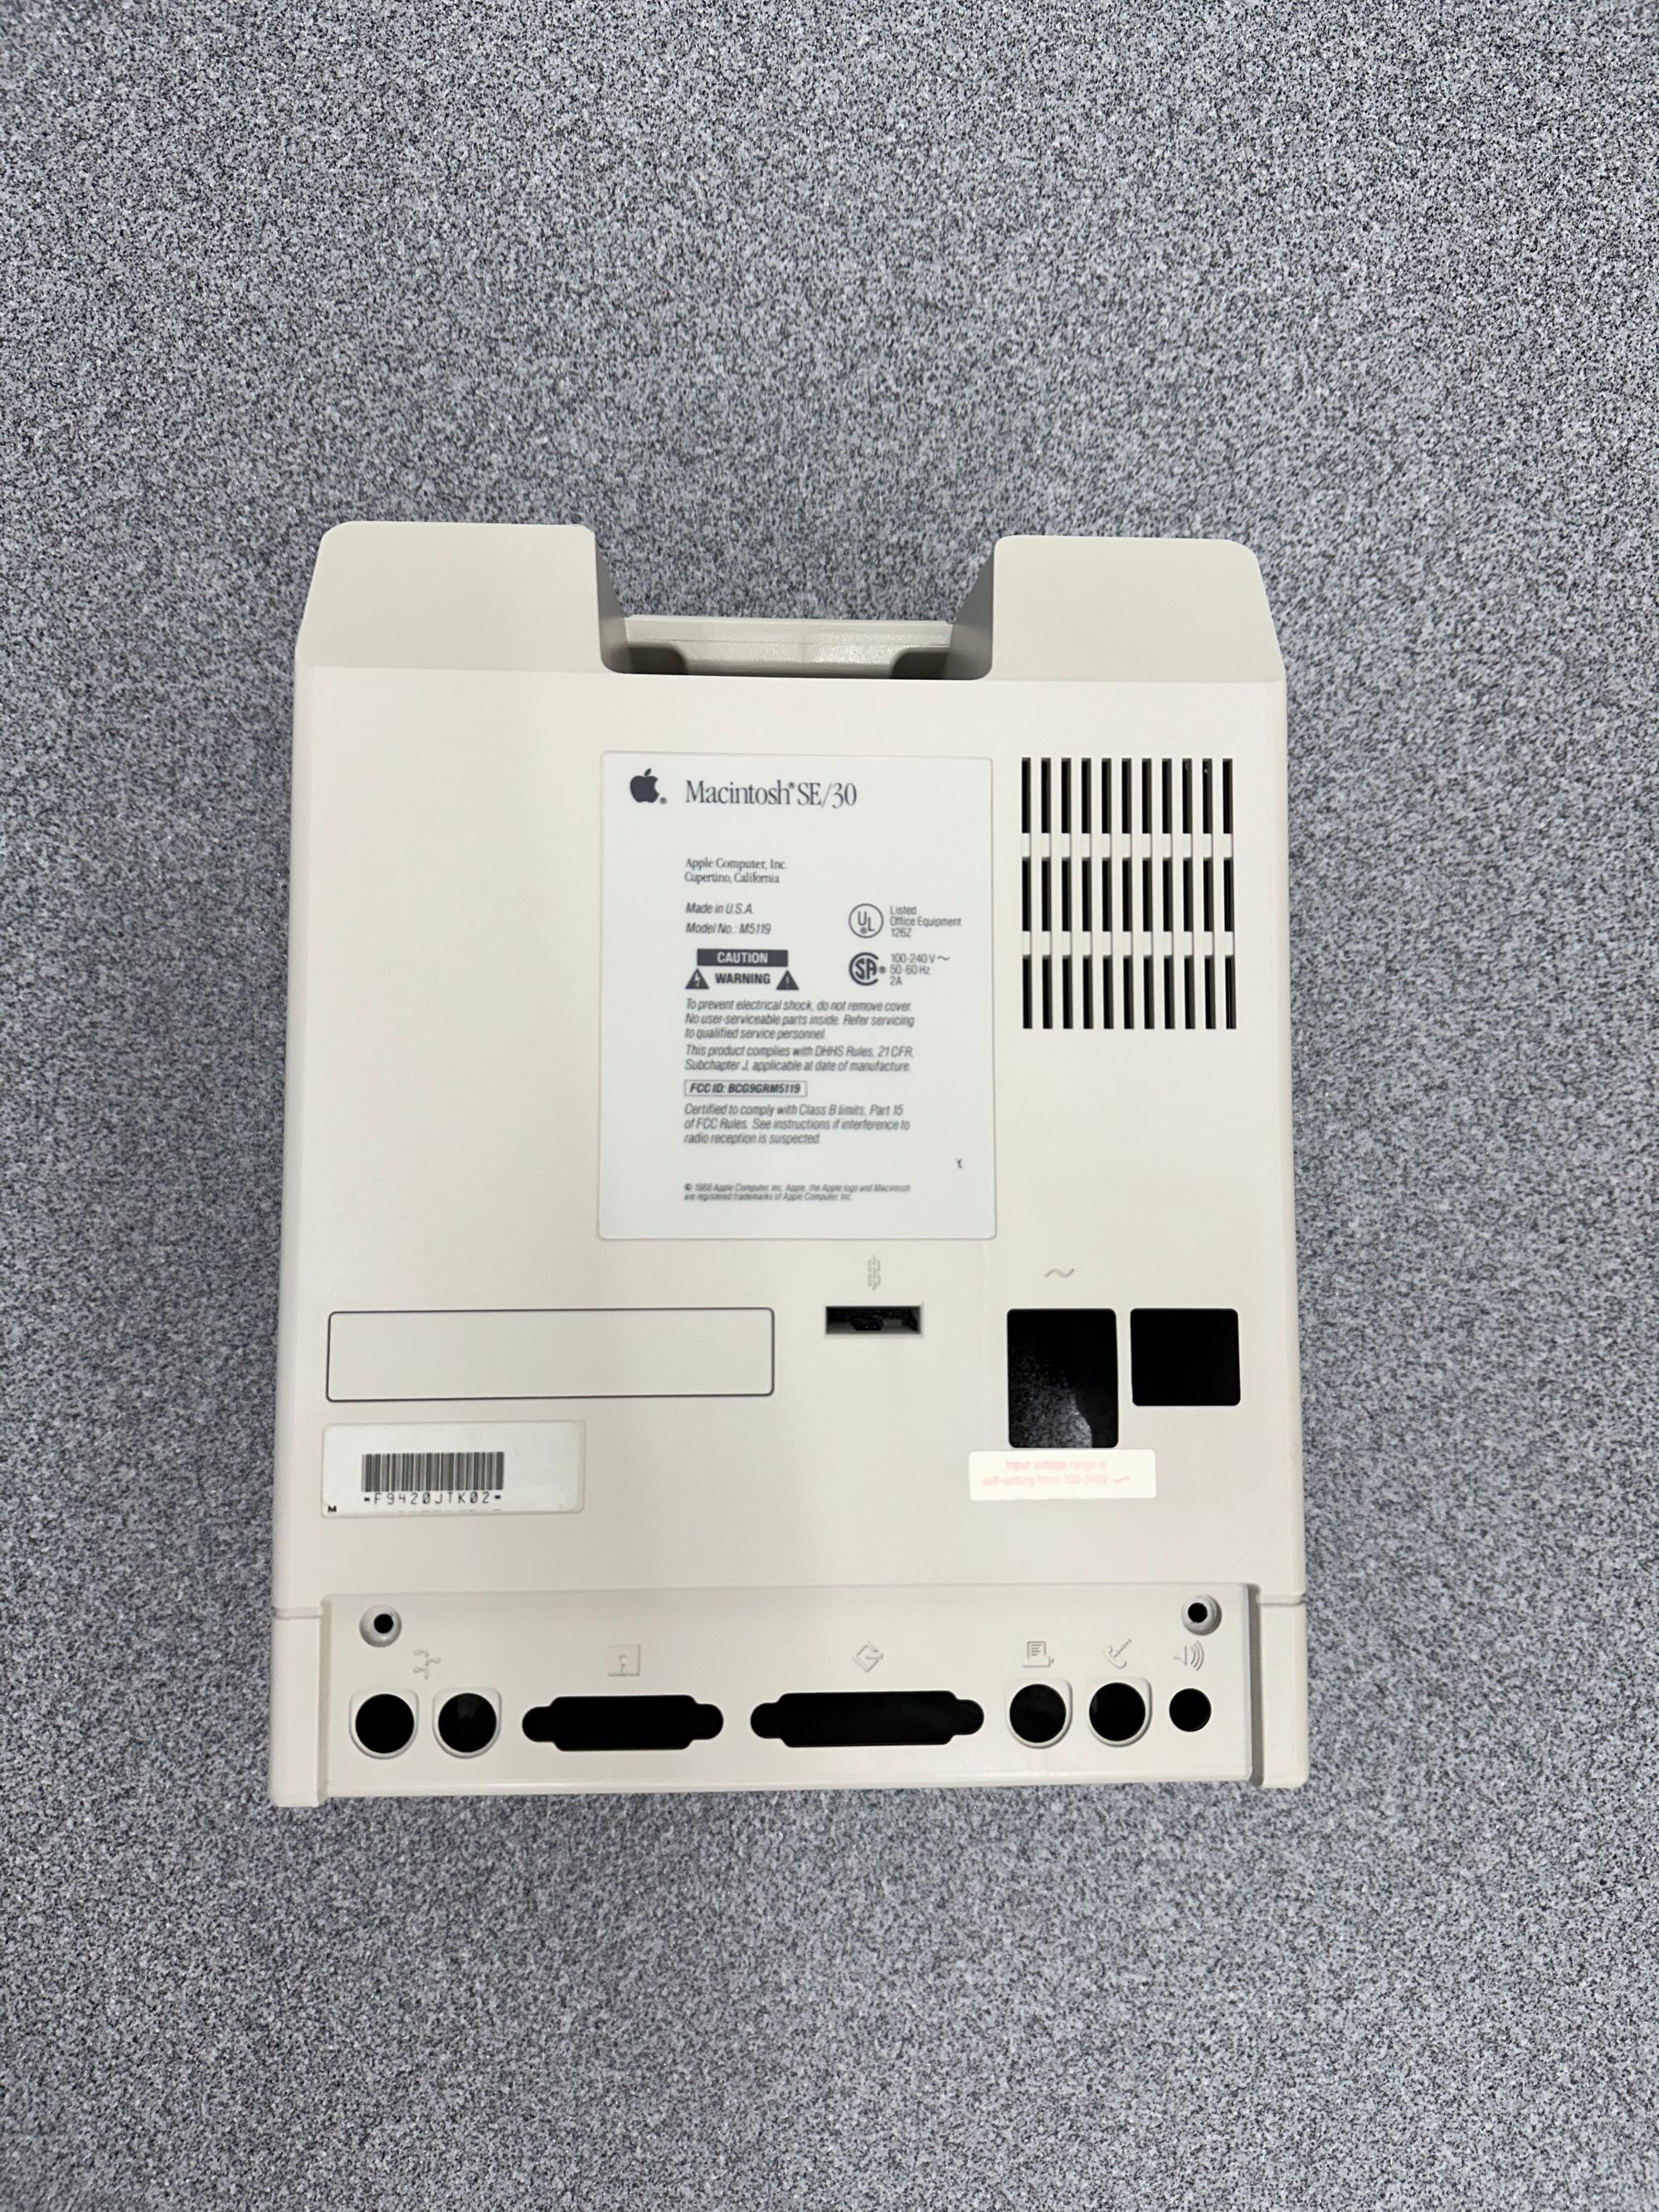
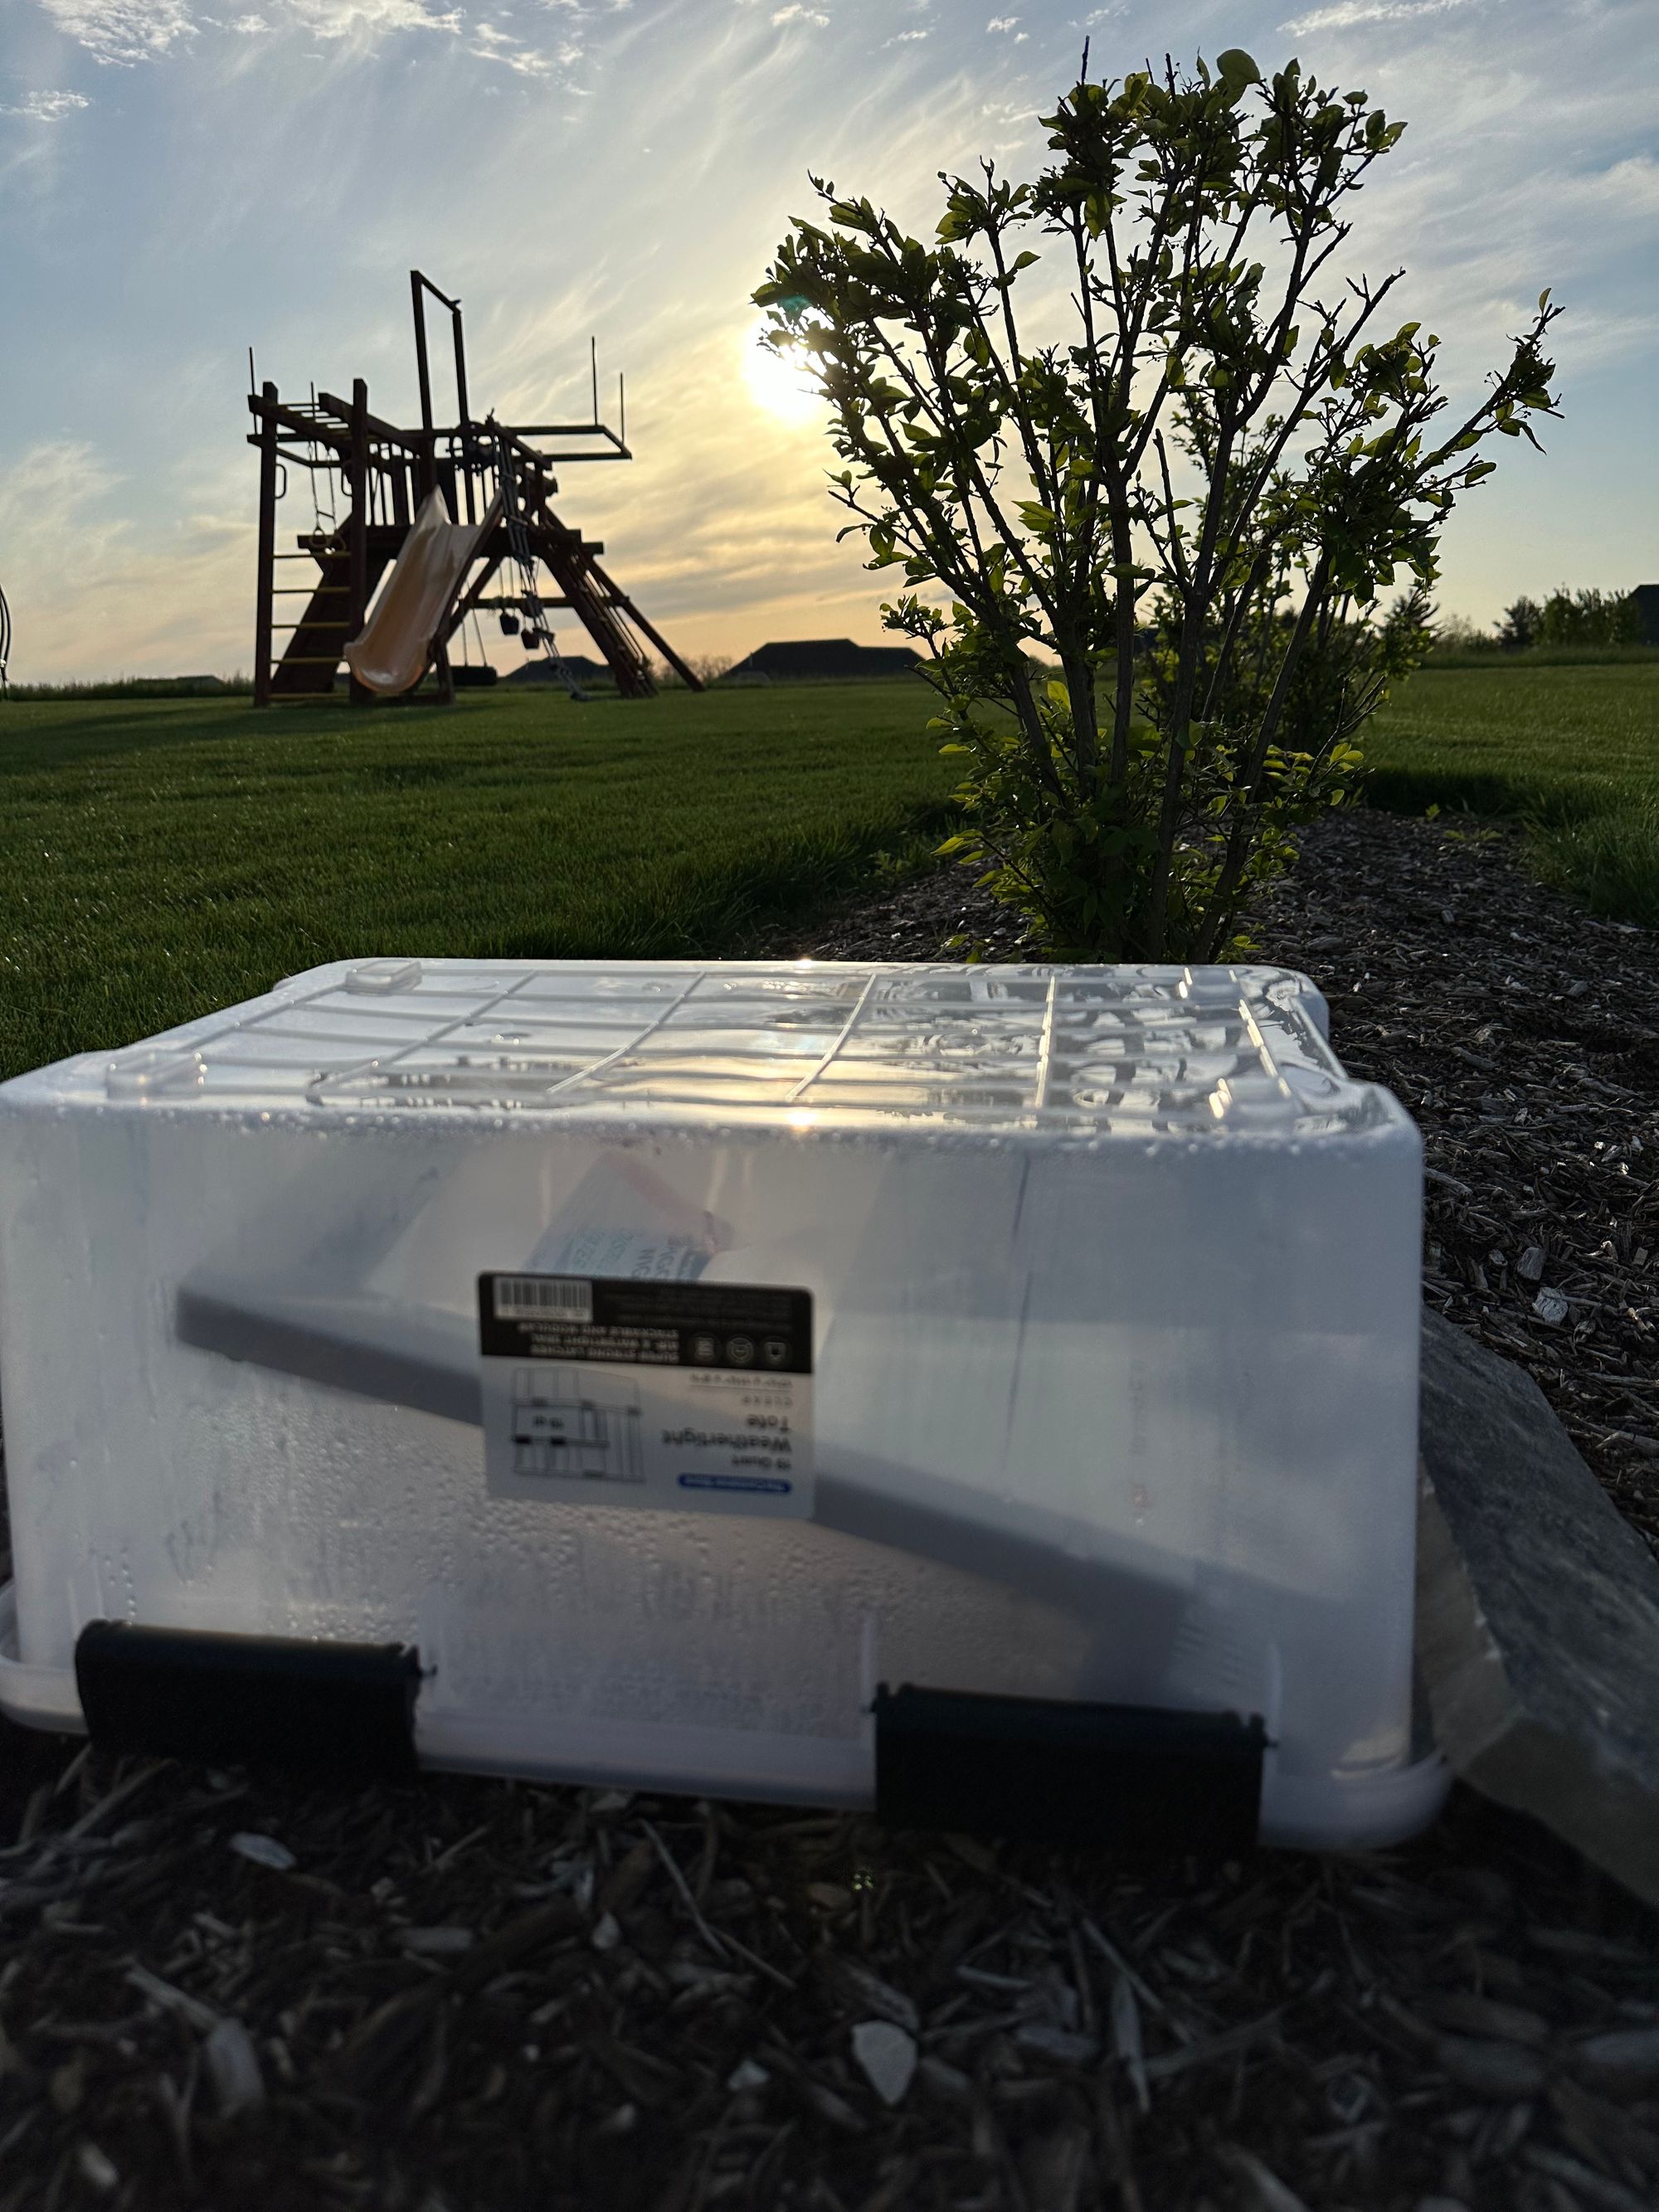
Now with a fully functional machine it was time to put it all together, but I wanted to try to make the machine looks as good as new. I decided to use the "vapor" method of "retrobrighting." There are various videos on YouTube about the process. It starts with an air-tight container from The Container Store upside down with the lid on the ground. Pour 12% concentrated hydrogen peroxide in the lid, place the parts on the lid, and seal the container over them. Then put it in the sun on a hot day and the peroxide will evaporate lightly coating the parts. I'm not a scientist so I can't say if it is the heat or the UV rays that lighten the color of the plastic. It made a noticeable difference without risking streaking or having to submerge the parts.


I 3D printed a few parts for the finishing touches. I printed clips to hold the ROM in place, a tray to hold the ZuluSCSI, and I designed and printed a bracket to hold the original hard drive activity light in place so it would light up with disk activity from the ZuluSCSI. The result was a clean and tidy package.

Now that the project is complete, I plan on finding more software, maybe trying to get MacOS 7.5 installed, and play around on #GlobalTalk.